
Surviving the Holidays Without Losing Your Mind (or Your Immune System)
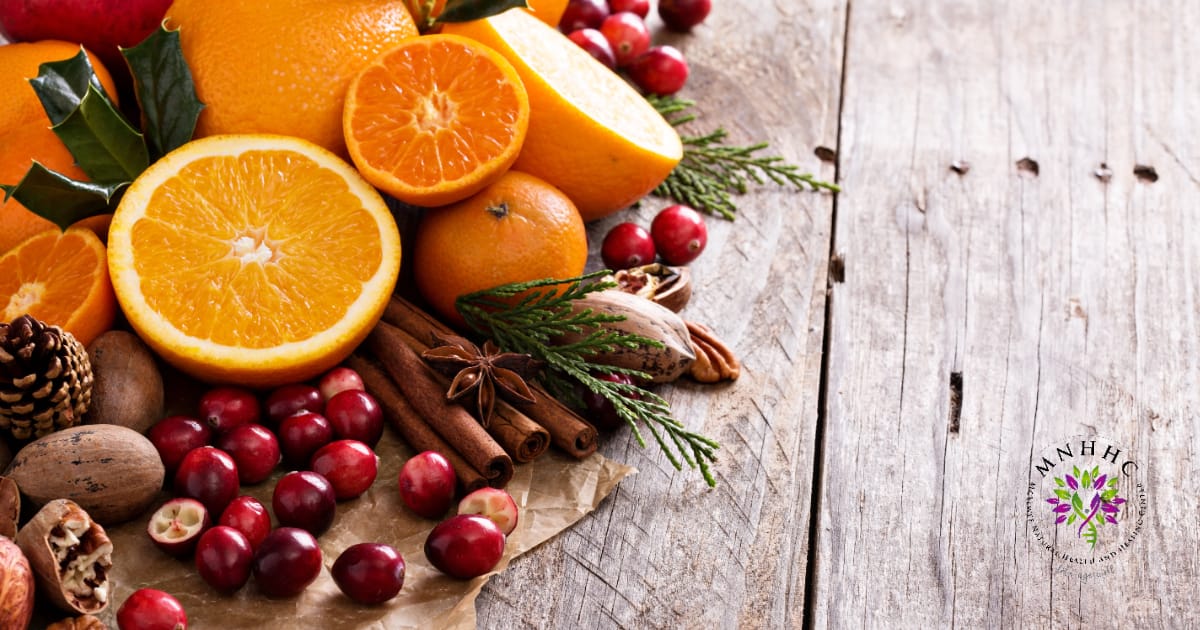
Welcome to the most wonderful—and occasionally most chaotic—time of the year! At McElwee Natural Hea...
Welcome to the most wonderful—and occasionally most chaotic—time of the year! At McElwee Natural Hea...

At McElwee Natural Health and Healing Center, we’re committed to empowering families with info...

In a groundbreaking announcement on September 22, 2025, President Donald Trump, flanked by Health an...

In a world where modern medicine often treats symptoms with pills and procedures, what if the key to...
At McElwee Natural Health and Healing Center, we’re committed to empowering our community with knowl...
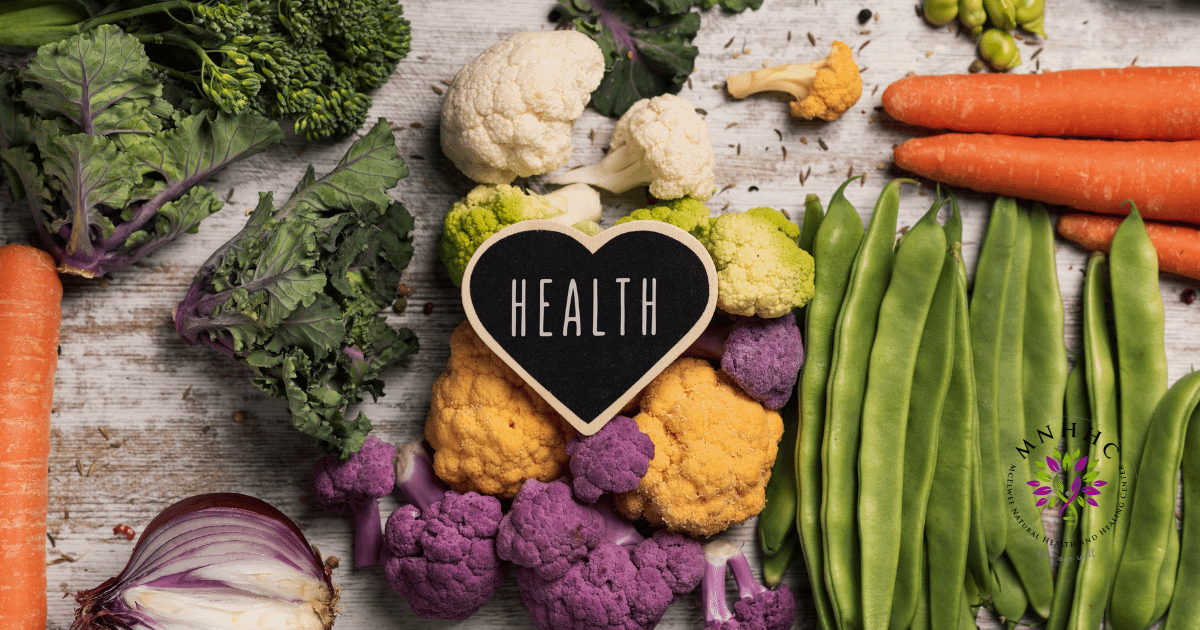
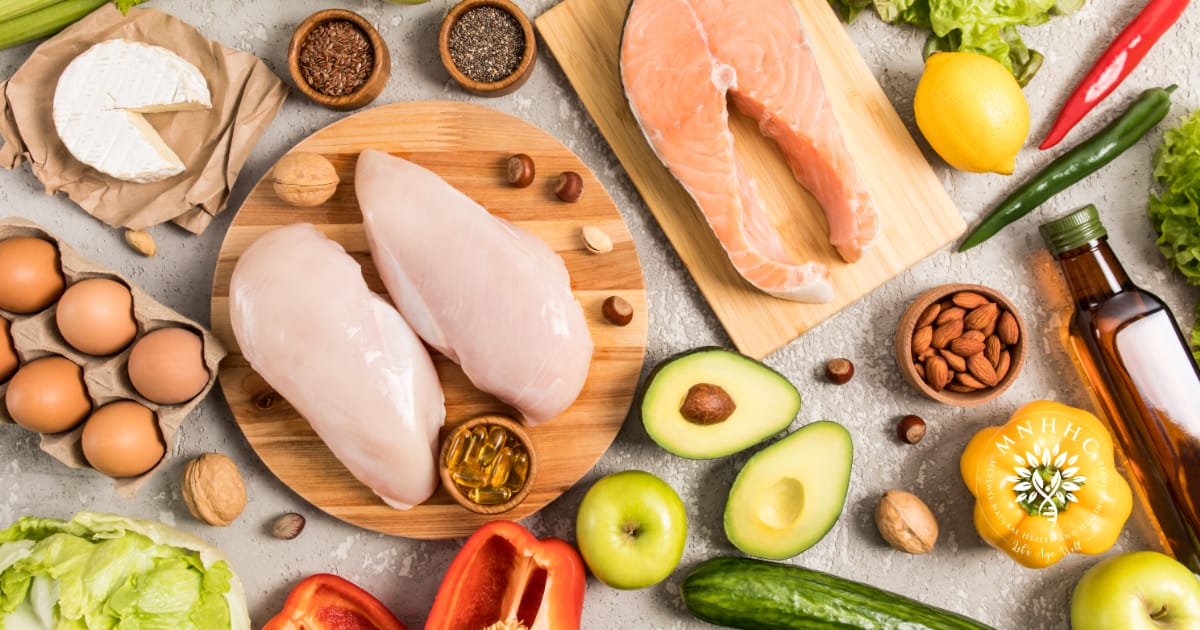
At McElwee Natural Health and Healing, our mission is to empower you to achieve vibrant health by ad...
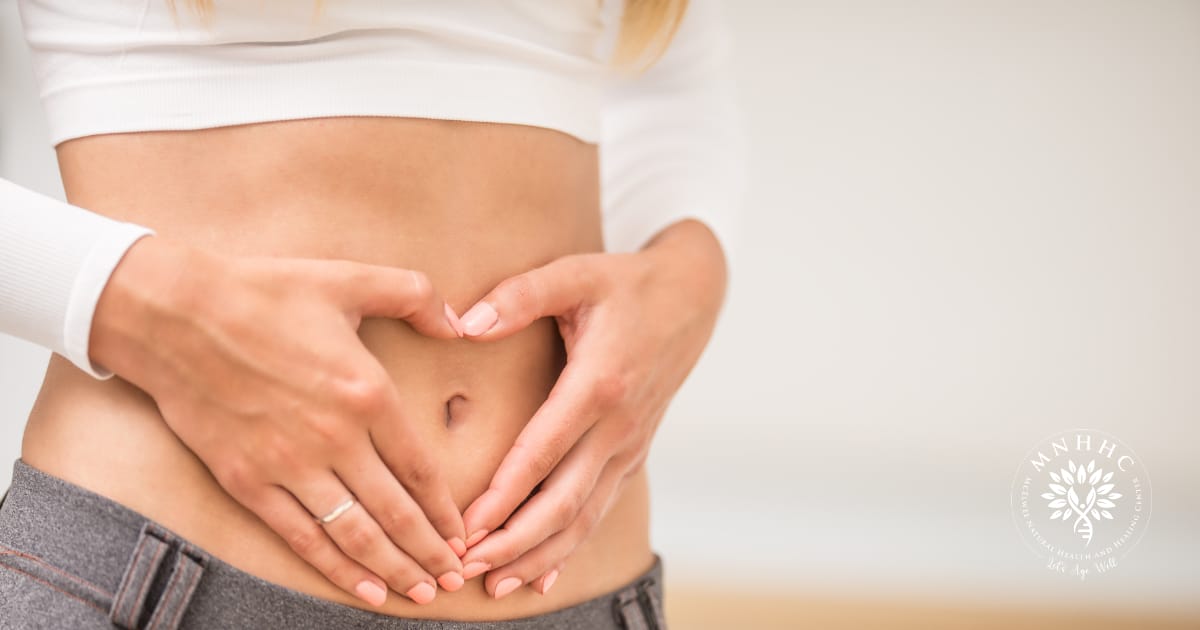
Ever wonder why you feel bloated, exhausted, or achy after certain meals? These could be your body’s...
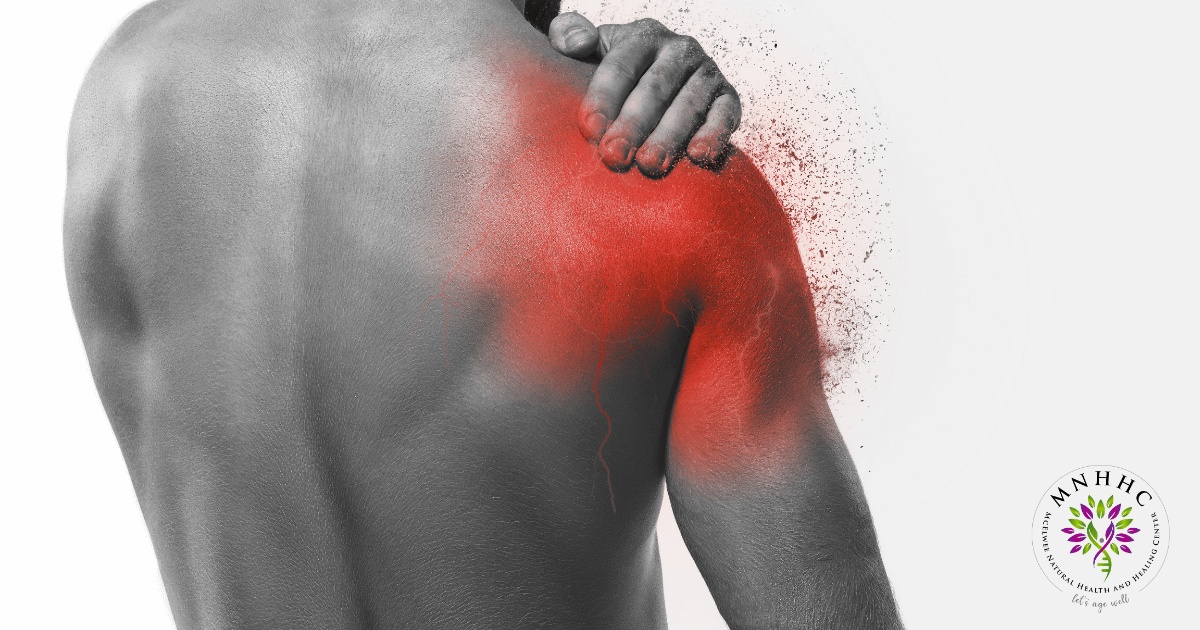
Frozen shoulder, medically known as adhesive capsulitis, is a debilitating condition characterized b...
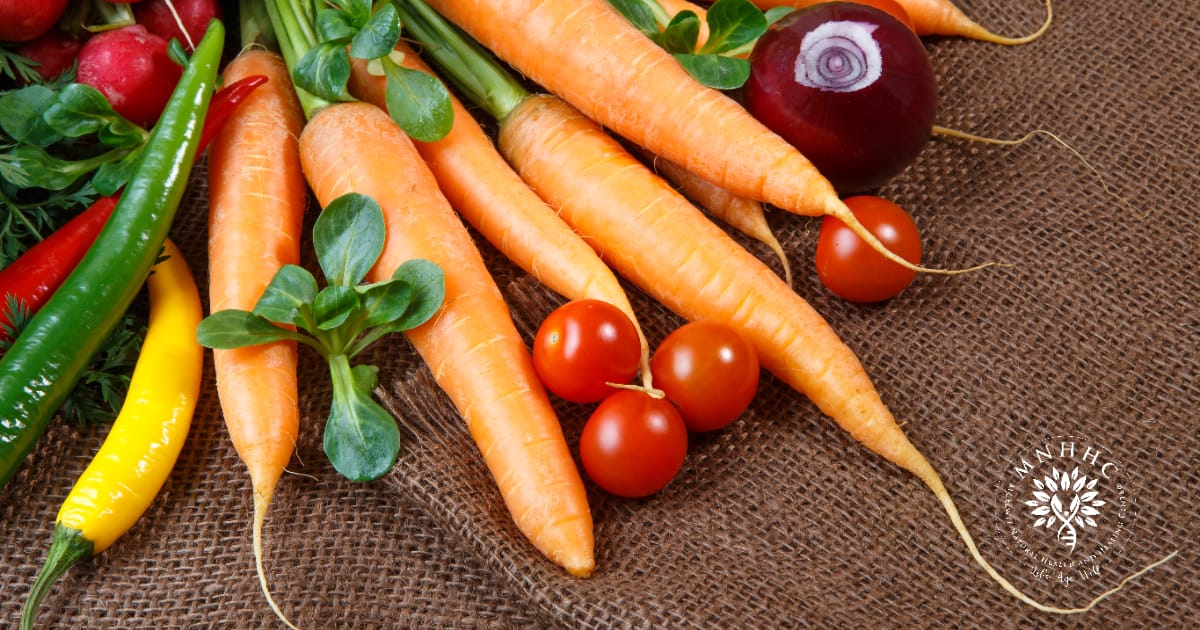
As summer heats up in Maryland, the fields are bursting with vibrant, local produce that can nourish...

At McElwee Natural Health and Healing Center, we believe in empowering you to take charge of your we...
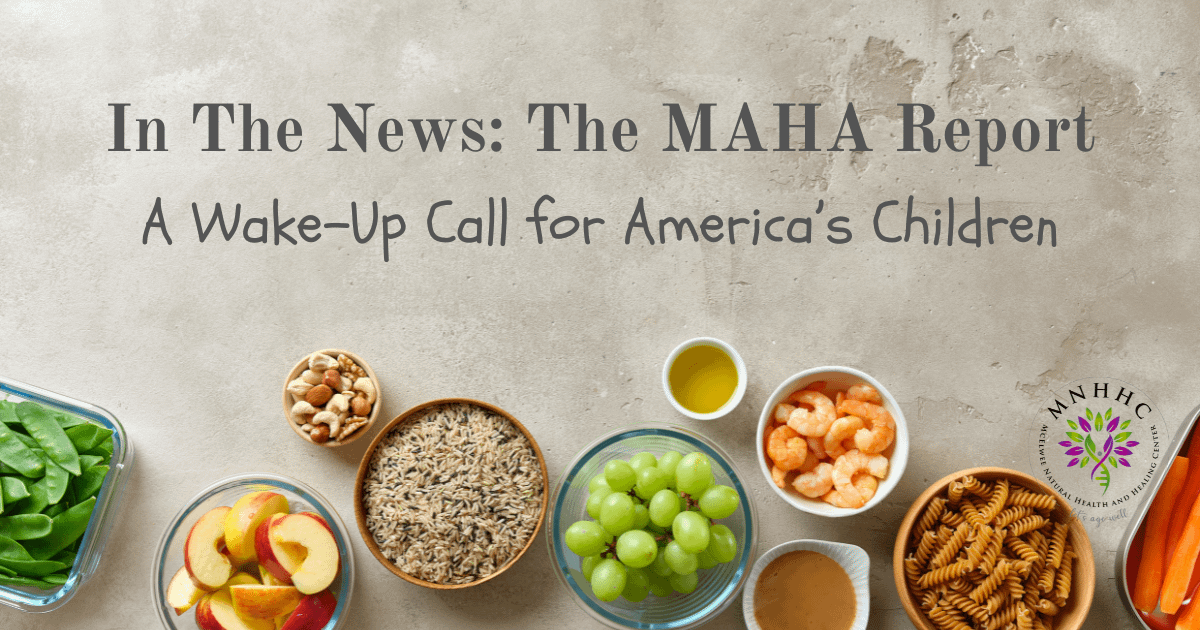
On May 27, 2025, U.S. Health and Human Services Secretary Robert F. Kennedy Jr. unveiled a groundbre...
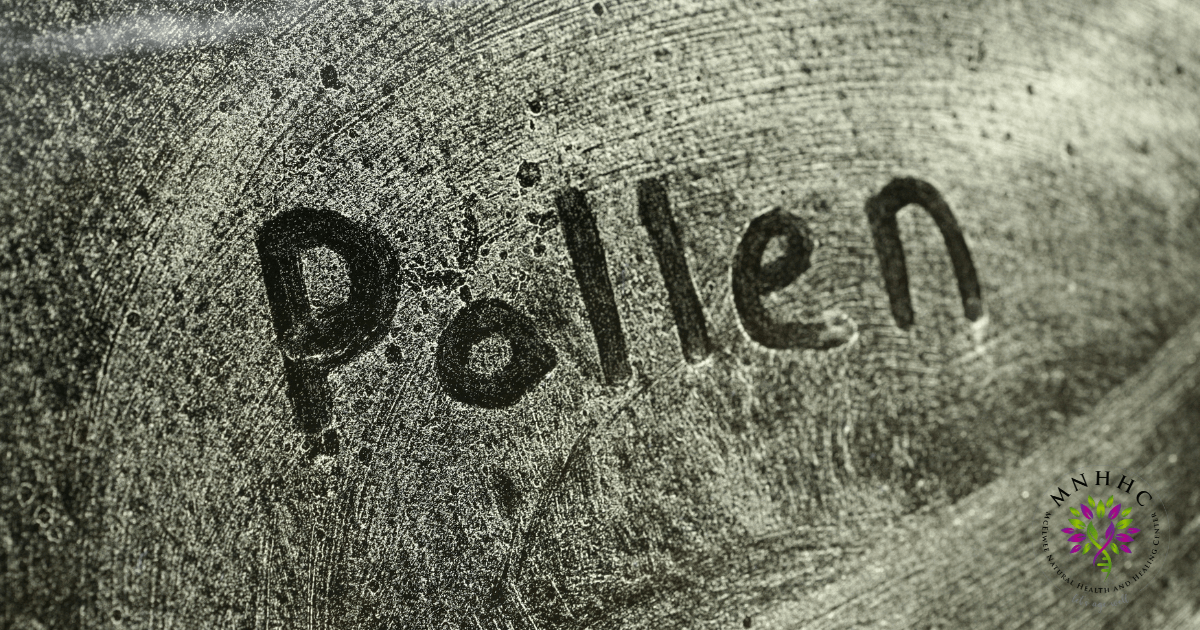
Seasonal allergies plague many Maryland residents, with Harford County’s high pollen counts making s...
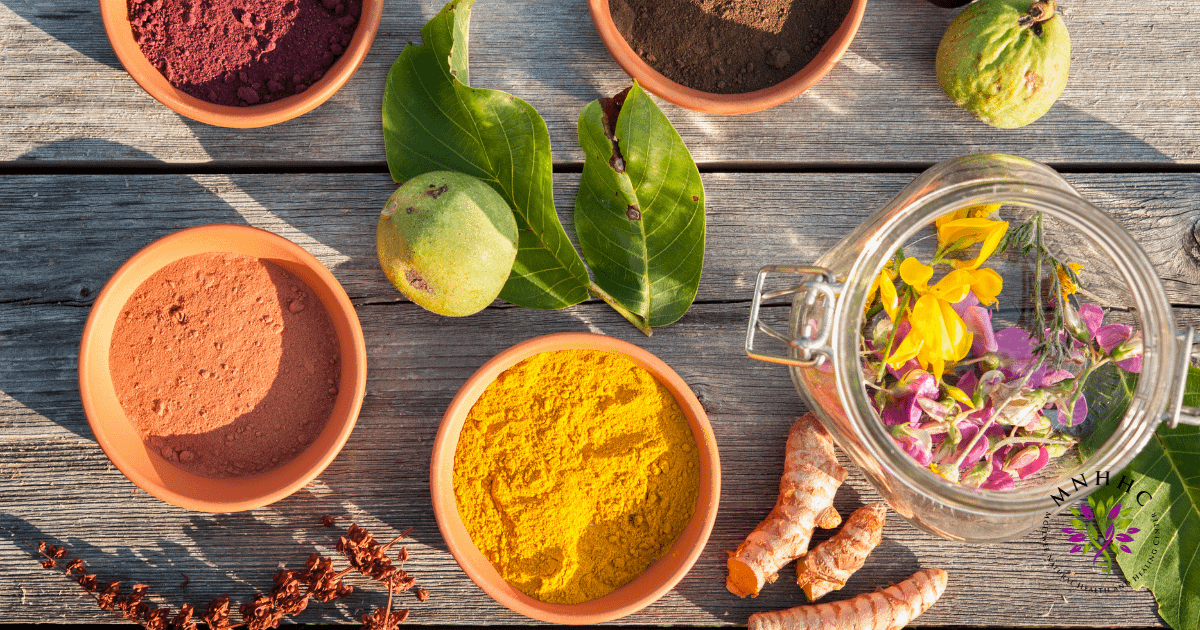
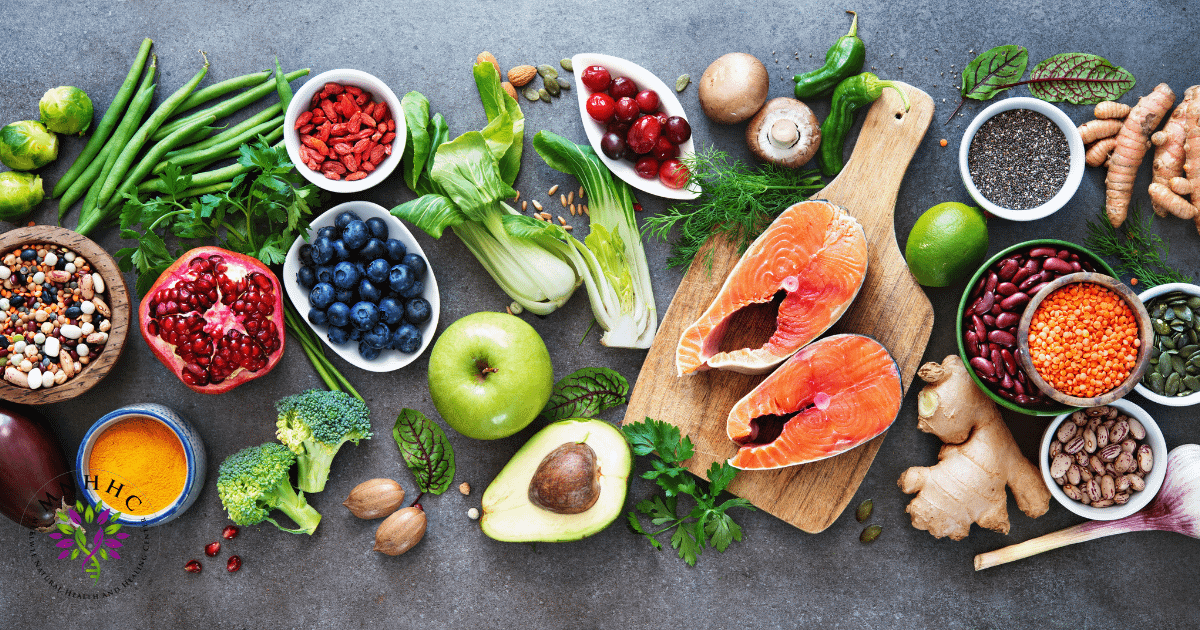
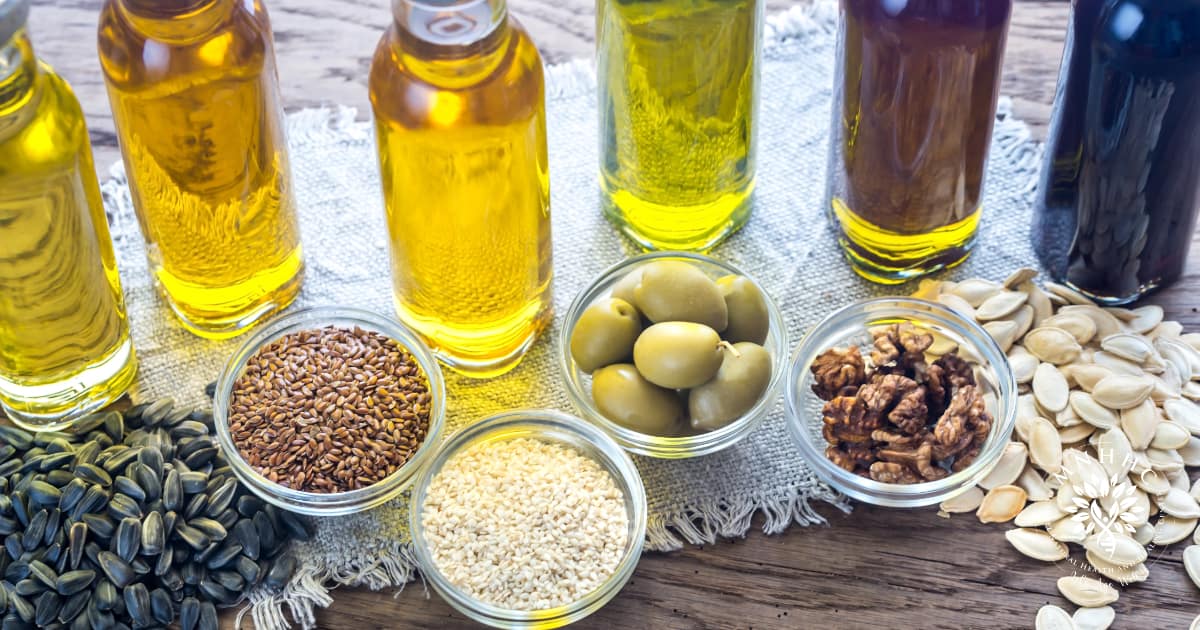
At McElwee Natural Health and Healing Center, we’ve long championed the power of natural, whole food...
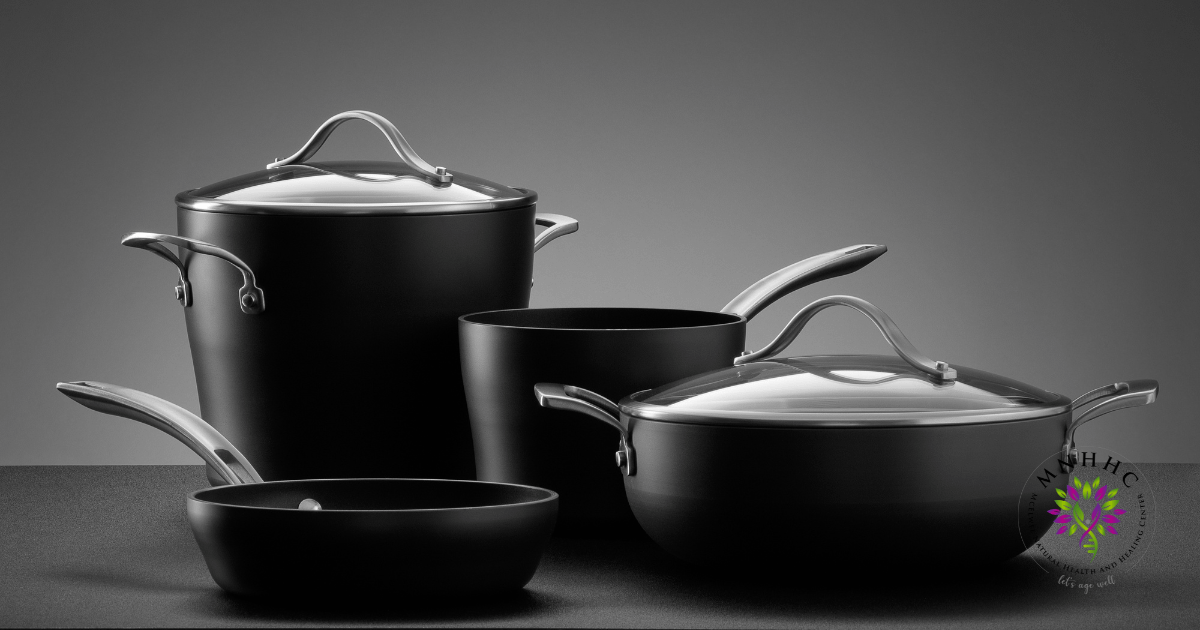
When it comes to cooking, the tools you use are just as important as the ingredients you select. Coo...

This year we have seen a resurgence of measles, a highly contagious viral disease. Before the introd...
If you’re passionate about whole, natural foods and your health, genetically modified organisms (GMO...

We were thrilled to learn of Robert F. Kennedy Jr.’s confirmation as the new Secretary of Health and...

When your child is running a fever, it can be a worrying time for any parent. The decision of whethe...
Red Dye #3, or Erythrosine, is a synthetic red coloring used in various food and cosmetic products....
The “Make America Healthy Again” (MAHA) movement emerges at a crucial time when the Unit...
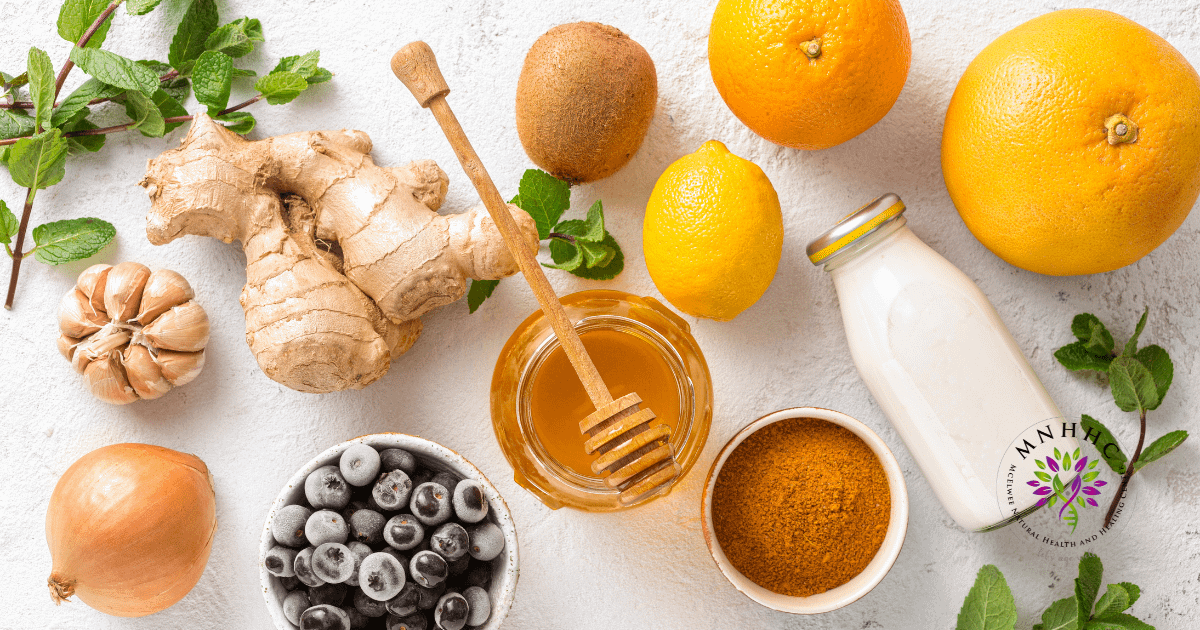
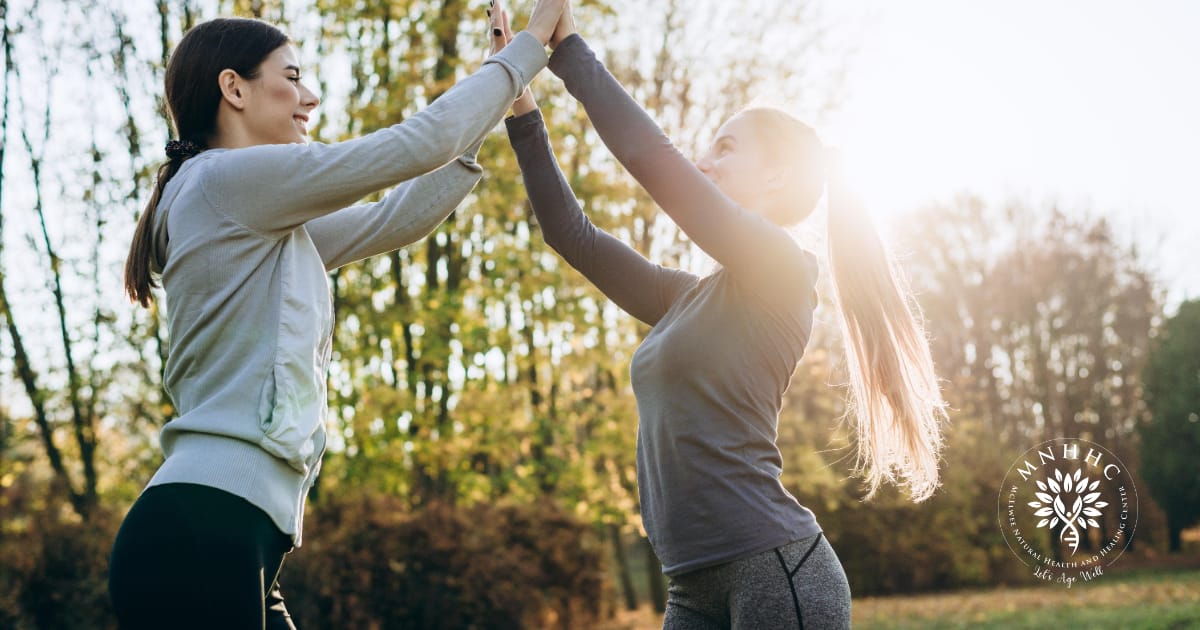
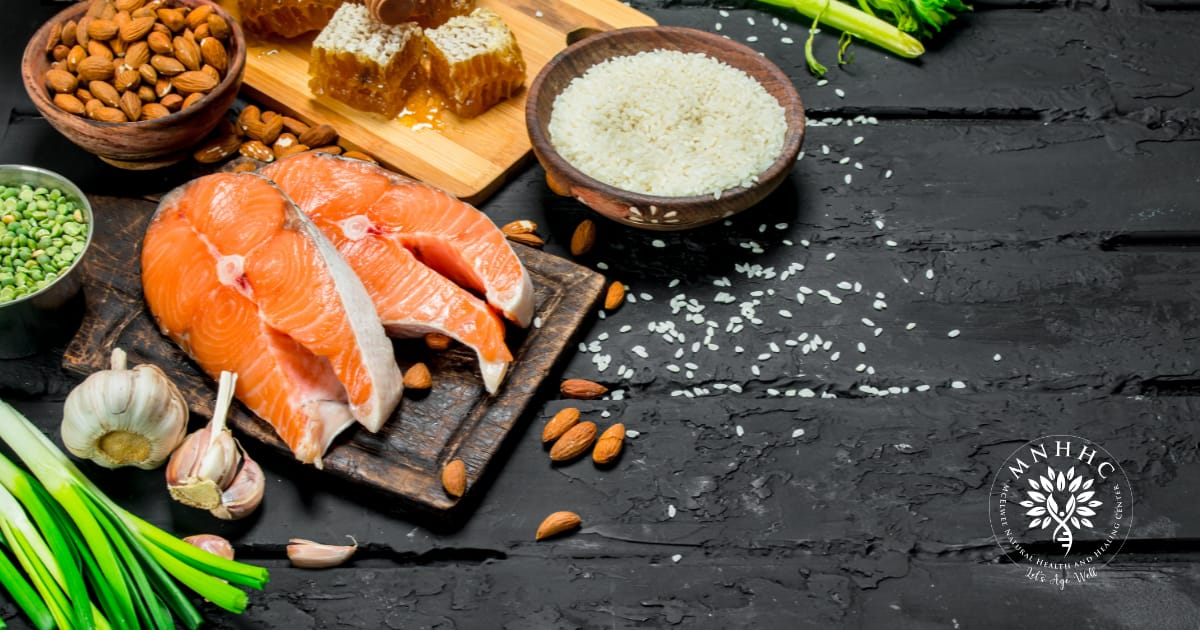
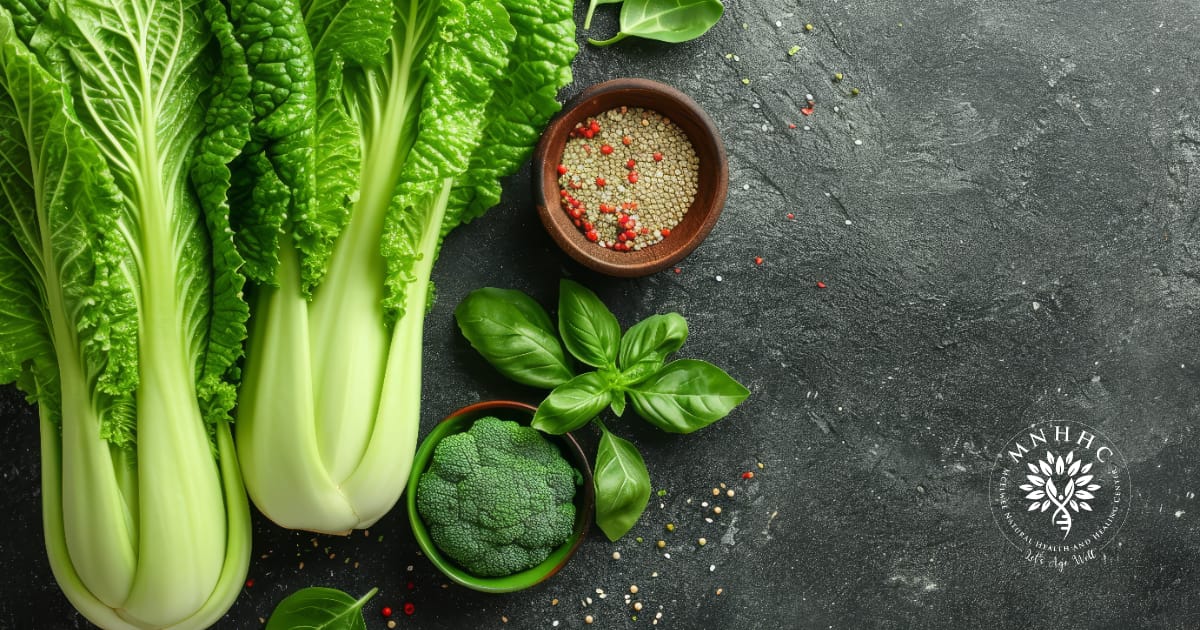
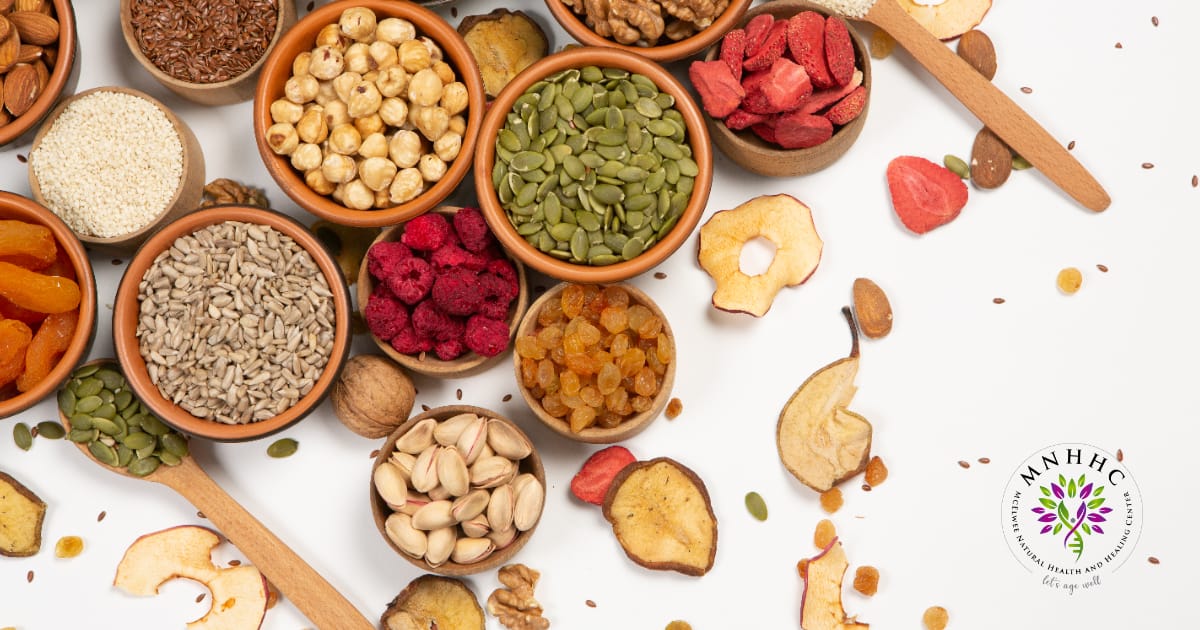
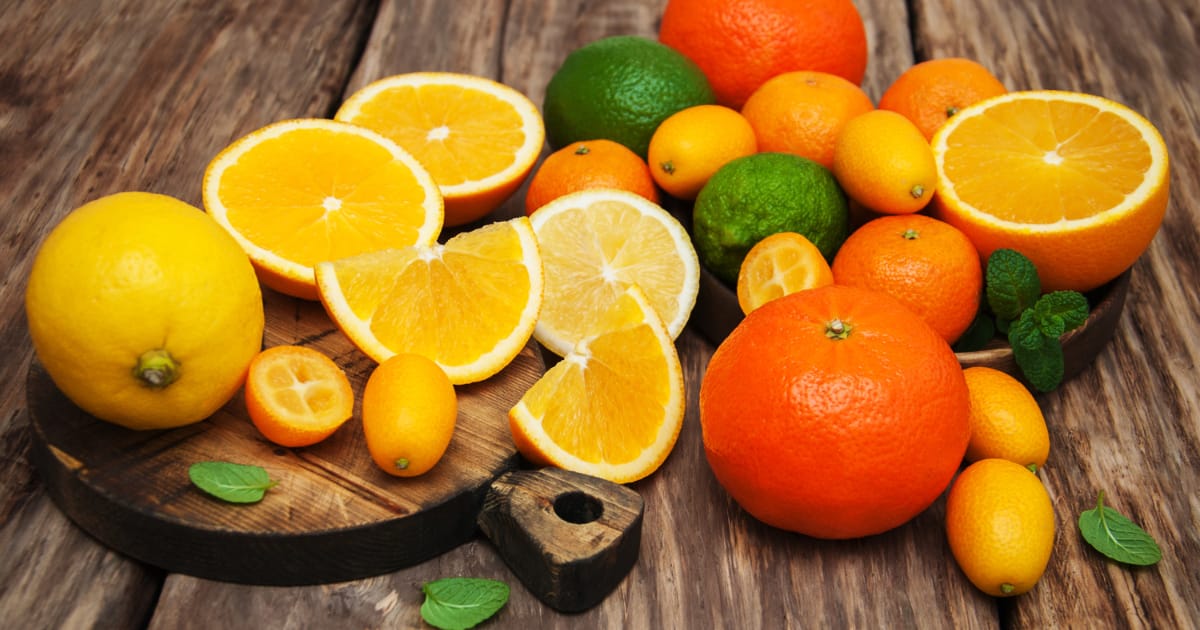
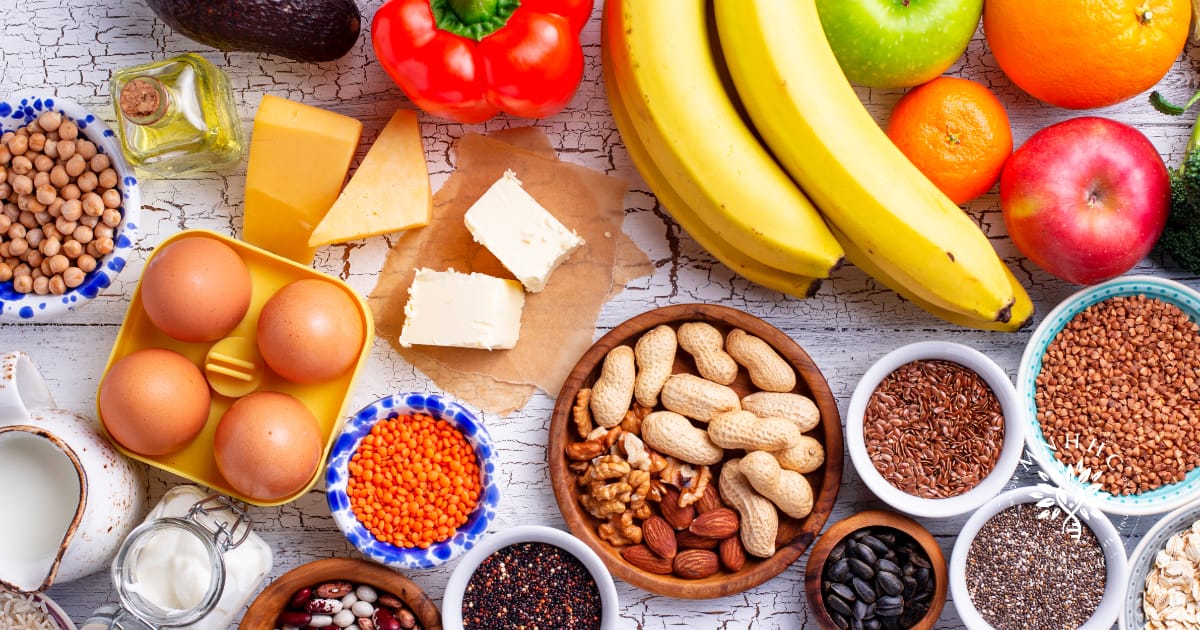
The holidays are a time of coming together to get caught up in the lives of loved ones, share fond m...
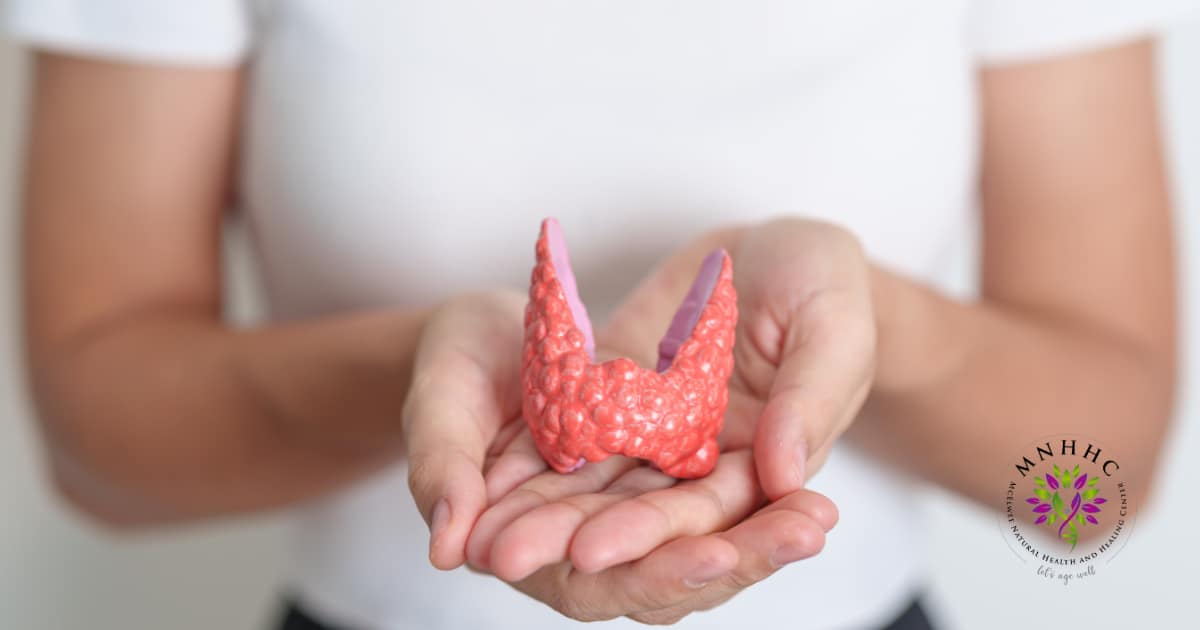
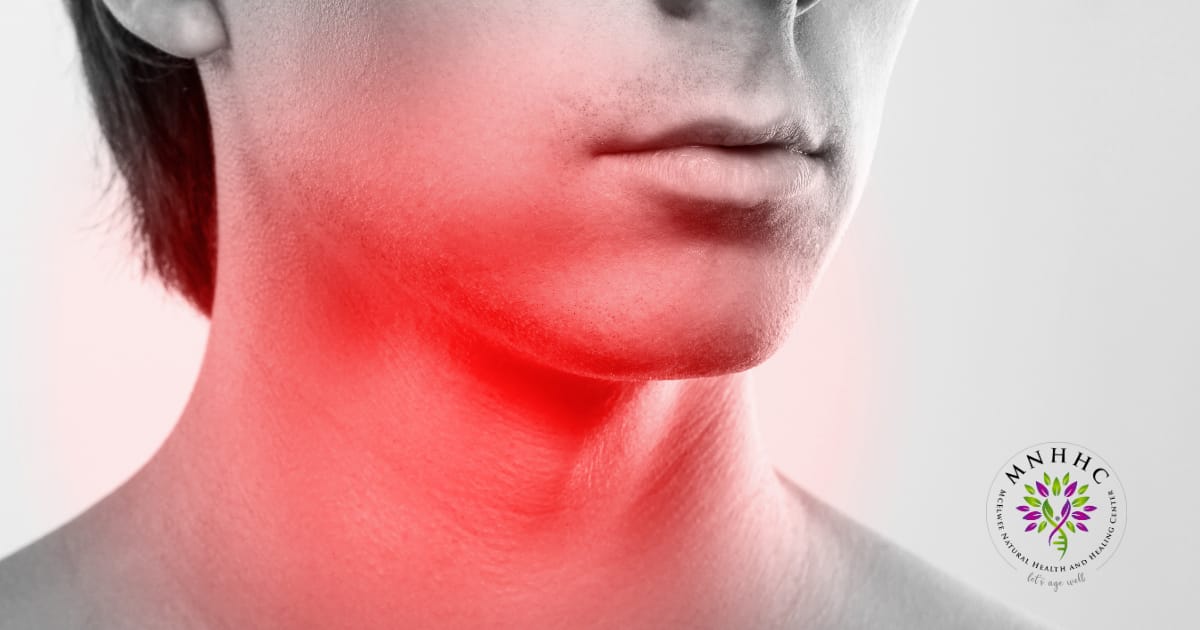
The thyroid gland, a small but crucial butterfly-shaped organ in the neck, regulates a myriad of bod...
Maintaining good health relies on essential vitamins and minerals like vitamin C, calcium, and iron....
When we think about the essential nutrients contributing to our overall health, our minds often grav...
When we think about essential nutrients for our bodies, we often focus on vitamins and minerals like...
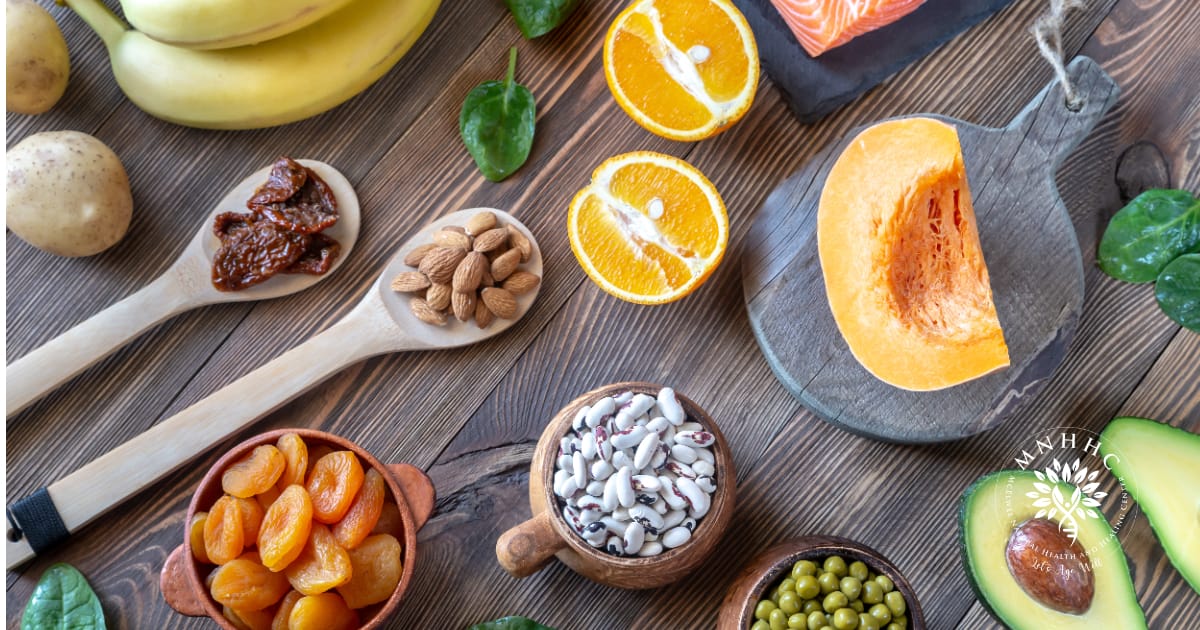
When it comes to essential minerals for our health, manganese often takes a backseat to more popular...
Zinc is a mineral that is crucial in maintaining overall health and well-being. While often overlook...
Many people overlook the importance of iodine in their diet when it comes to maintaining optimal hea...
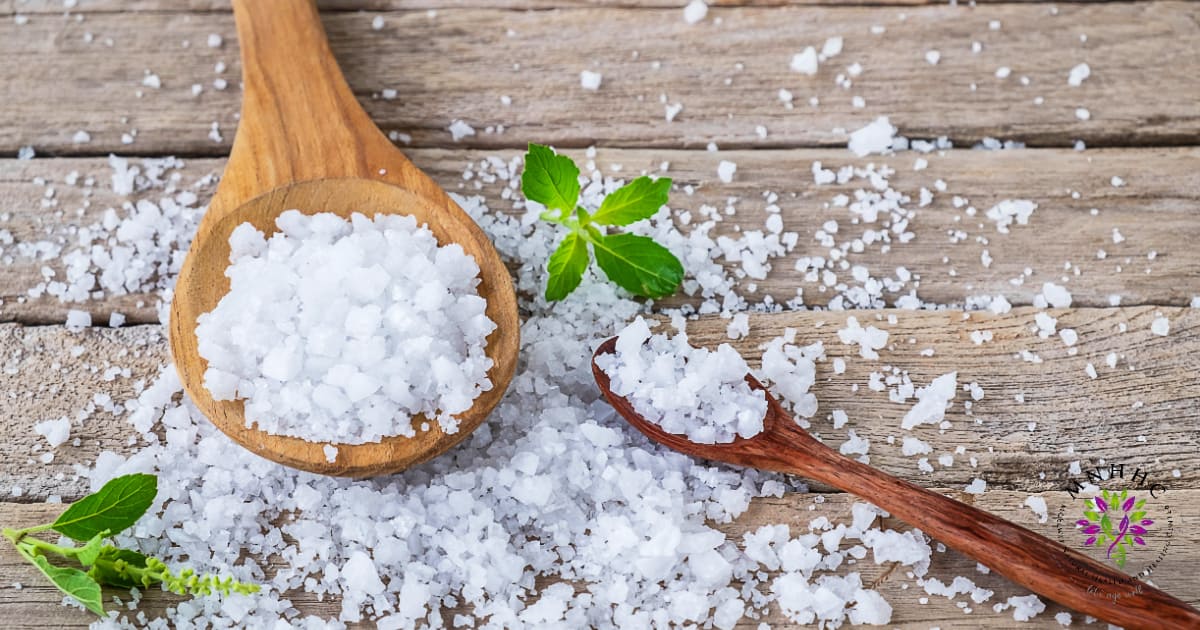
Understanding the role of sodium in our bodies is crucial to maintaining optimal health. Sodium play...
When we think about essential nutrients for our body, we often hear about the importance of vitamins...
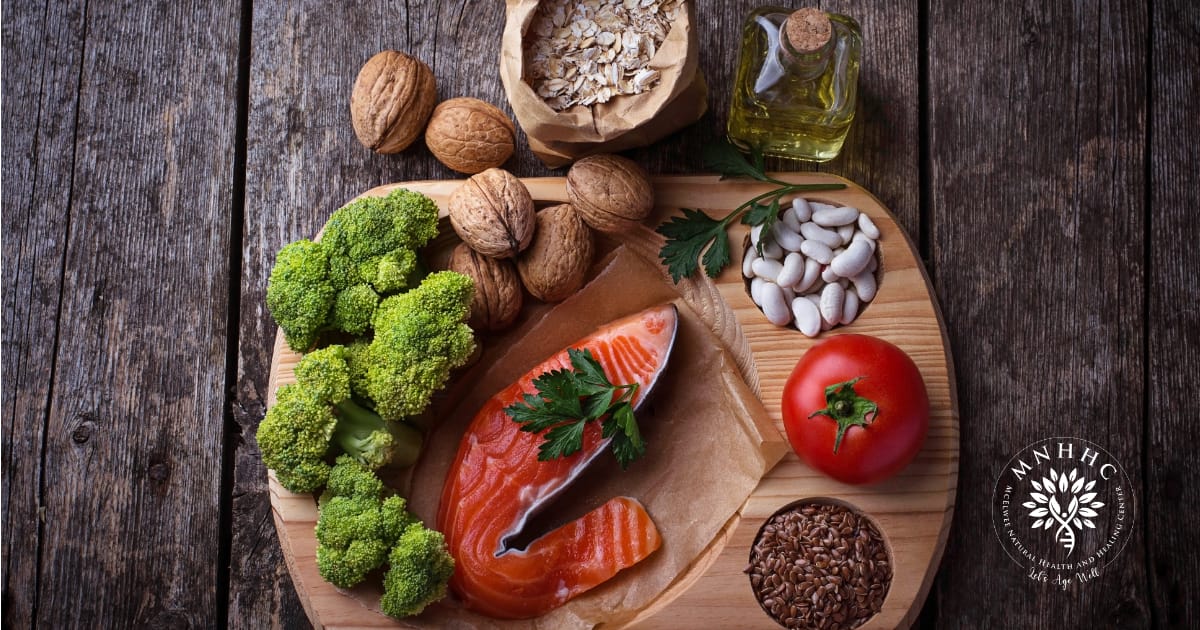
From energy production to cell growth, phosphorus is a vital mineral that is crucial for various fun...

Calcium is an essential mineral that plays a vital role in various body functions. From strong bones...
When it comes to maintaining good health, most people are familiar with the importance of vitamins l...
Many of us are familiar with the many essential vitamins in our diet. Still, one that often gets ove...

Have you ever noticed how a sunny day can instantly boost your mood? Well, that’s not just a c...
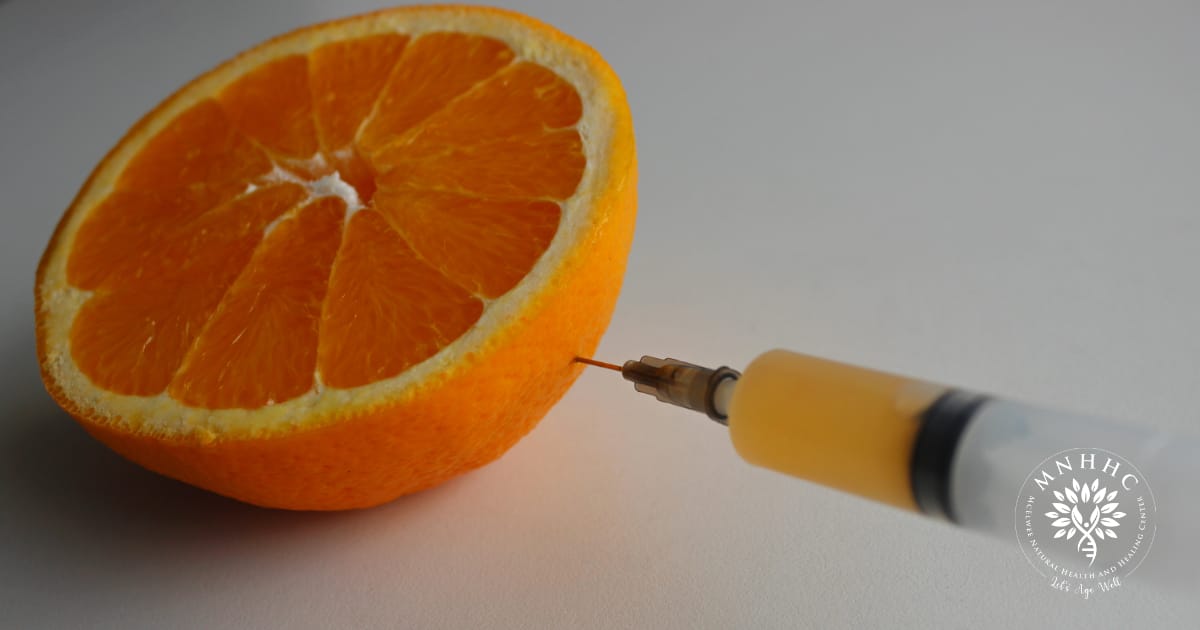
Vitamin C stands out as the go to vitamin for maintaining optimal healt. This essential vitamin, als...
B vitamins play a crucial role in maintaining optimal health. These essential nutrients are water-so...
Vitamin A is an essential vitamin that is vital for various bodily functions. We often hear about th...
In today’s health-conscious world, many people are becoming more aware of the impact of their...

Imagine biting into a juicy, ripe tomato only to find that it lacks vibrant flavor and essential nut...
When you pick up a packaged food item from the grocery store shelf, chances are you’ll see the term...
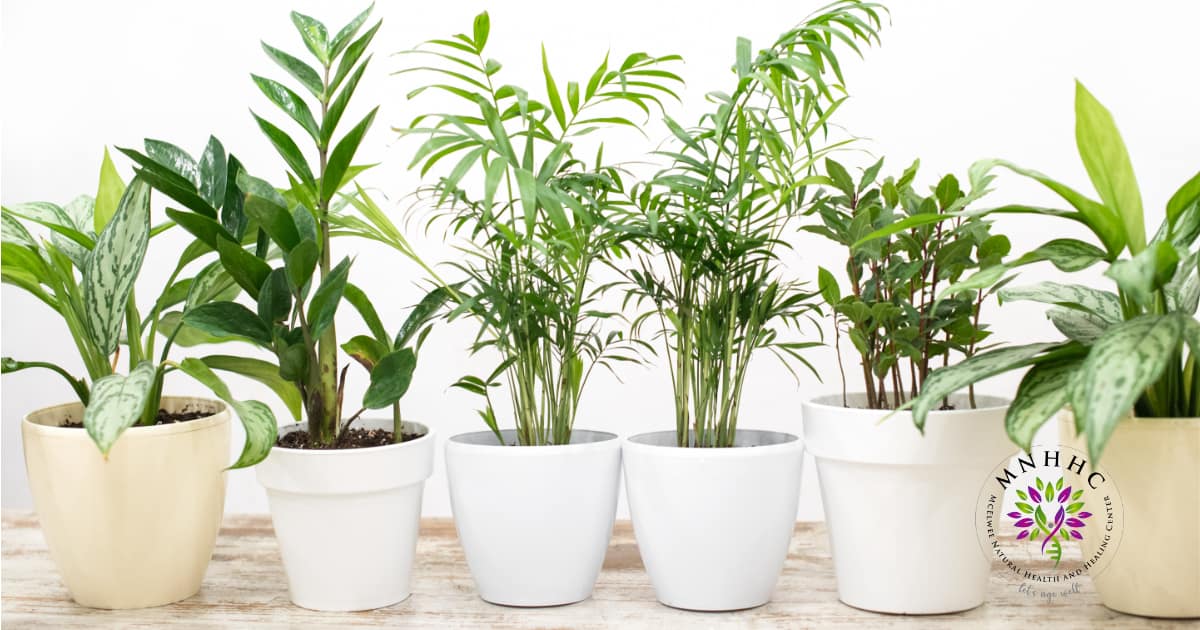
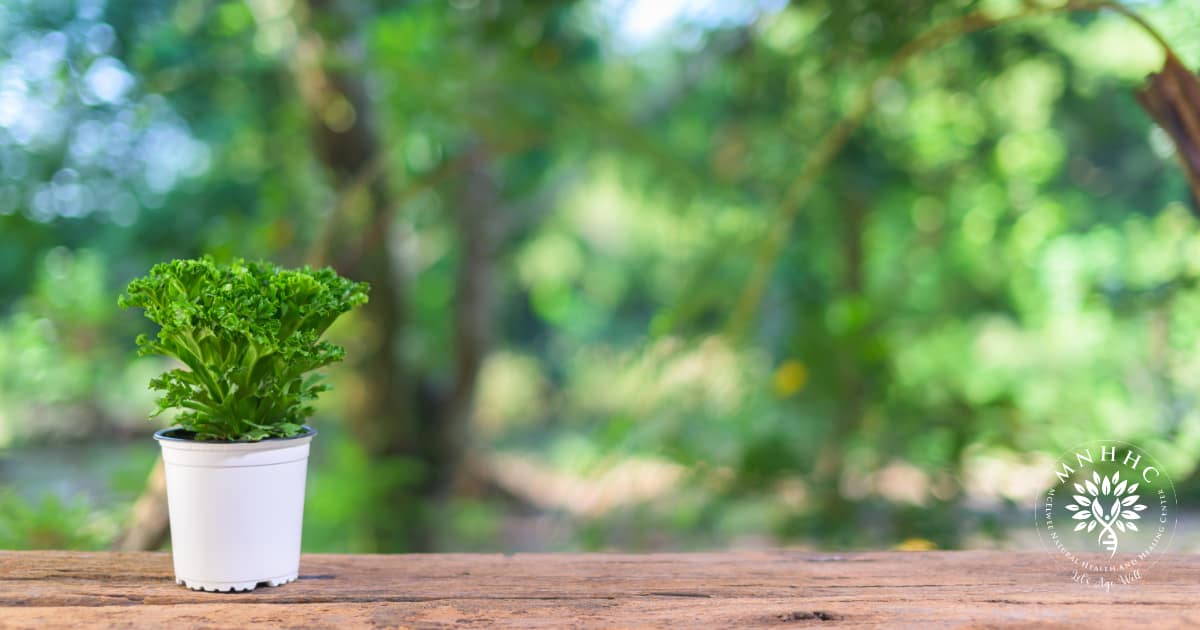
Houseplants are not only a beautiful addition to your home decor, but they also offer numerous healt...

Feeling tired all the time is a common complaint among many people today. It can be a frustrating an...
Our bodies are constantly bombarded with toxins from the environment, food, and even the products we...

As our Dads age, it becomes increasingly important to prioritize their health and well-being. From e...

As a holistic health practice, McElwee Natural Health and Healing is dedicated to enhancing overall...
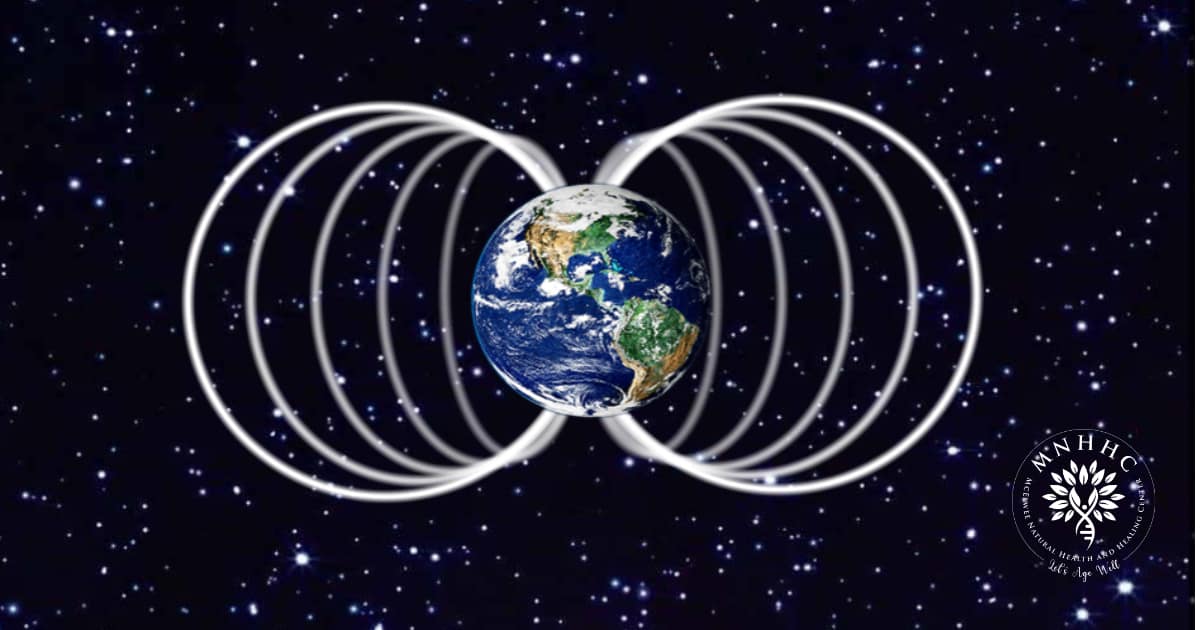
Electromagnetic fields (EMFs) are invisible lines of force that surround electronic devices and powe...
Are you seeking a natural method to enhance your overall wellness? Discover the PEMF mat at McElwee...
At McElwee Natural Health and Healing, we believe proper health is about more than just the absence...
Imagine stepping outside your home on a bright morning, the birds chirping, the sun shining, and the...

An estimated 100 million Americans have reflux, many of them unaware of it because acid reflux can be silent. A generation ago it was considered a middle-age problem however the incidence is on the rise.
Why? Largely due to excessive acid in our diet from process foods.
Today, young adults in their early 20’s and 30’s are at risk for acid reflux.
If you answer yes to any of these questions, you could be dealing with symptoms of acid reflux:


Did you know that there are more than 2000 sweat glands and 4000 pores in your feet? It’s no wonder that detoxifying footbaths have been used in Ayurvedic and Eastern traditions for thousands of years!
In fact, this system of healing was also used by the Romans in conjunction with public baths to draw impurities out of the body through the processes of osmosis and diffusion.
While the use of ionization in a detox foot bath is relatively new, the technique itself is based on ancient and well-respected methods that are still practiced today. And, when combined with ionization, the detoxification effects can happen more quickly and be even more dramatic.
Let’s dive into exactly what an ion detox foot bath is, how it works, and how it can benefit your overall health.
A detoxification foot bath is simply the process of soaking the feet in a tub of warm water. Certain ingredients are added to the water to assist the detoxification process. It’s one of the safest and most relaxing ways to remove toxins from the body.
There are many types of detoxification foot baths.
Some include:
Here at McElwee Natural Health and Healing, we offer the ionic detox foot bath. We prefer this method because it is highly effective for enhancing the body’s natural ability to detoxify itself. Read on to learn how it works!
The process of an ionic detox foot bath is actually quite simple. We start by filling a tub with warm water. Salt is added to the warm water to improve conductivity. Then we place an array into the tub to produce a gentle electrical current.
This direct current breaks the water into positively charged hydrogen ions and oxygen gas, or negatively charged hydroxide ions and hydrogen gas, depending on the settings we choose. We utilize muscle testing to find the correct setting for the individual person’s need.
When the machine is turned on, the patient might notice a slight tingling sensation in the feet. That’s because our bodies are made of water and electrolytes, and they allow the current to travel through the body. This current causes the tingling sensation as it works like a catalyst to boost the body’s own natural detoxifying abilities.
By the end of a 20-minute session, the water changes color. The color change is caused by the oxidation of the metal plates in the array and the ions reacting with solutes in the water.
An ionic foot detox is more effective than other foot detox modalities because the electrical current actually travels throughout the body and stimulates lasting detoxification effects. Other modalities offer similar relaxation benefits, but the effects don’t last, and they can only remove toxins close to the surface of the skin.
The primary benefit of an ionic detox footbath is that it enhances the body’s own natural detoxification abilities. This allows the body to remove heavy metals and other toxic elements from the body more efficiently.
Assisting the body’s natural detoxification process results in:
Often, when we are working with a patient to boost their immune system, their progress can become stalled due to the body’s inability to remove toxins efficiently. If toxins are allowed to build up, the patient’s immune system suffers, inflammation increases, and the body reabsorbs the toxins it can’t get rid of.
By supporting detoxification and boosting circulation, we can ensure that the patient’s lymphatic system does not become blocked or switched. This allows the body to push out any residual toxins, resulting in improved overall health for the patient.
Just about anyone can benefit from an ion detox foot bath to boost their overall health. Ionic footbaths are also beneficial for those suffering from skin conditions, fungal or yeast infection, heavy metal build up, and digestive issues. This treatment also works well as an accompaniment to other therapies, such as Red Light therapy and the Hypervibe therapy.
Side effects are very rare. However, some patients may experience mild nausea or dizziness after their treatment. You should always let your practitioner know if you have any health conditions or take any medications, just to be safe.
Unfortunately, there are a few small and poorly conducted studies that have led to some skepticism about the effectiveness of ionic footbaths. However, many people who utilize the Ionic foot bath treatments have seen positive effects!
Studies conducted by AMD show significant increases in the amounts of heavy metals in the detox foot bath water after 30-minutes. Another study by AMD also found a significant decrease in Glyphosate levels in the urine of patients who received ionic detox foot baths.
Scientific research also shows that patients who receive an ion foot detox have higher amounts of toxins in their urine and stool within three days of treatment, further demonstrating that the treatment does indeed enhance detoxification.
And finally, the Pacific College of Health and Science also quotes a study that demonstrates a significant reduction in aluminum and arsenic levels in the patient’s blood after ionic cleansing.
Wrapping it up
In addition to ionic foot baths, our personalized nutritional plans, colon drainage, lymphatic drainage, Red Light therapy, and Hypervibe therapy, are all available as part of a personalized plan to support detoxification. All of these therapies increase circulation and help the human body eliminate residual toxins efficiently and effectively.
Detoxification is often the first step in a holistic treatment plan that focuses on optimizing the function of the entire body and its organ systems. Our goal is to address the underlying causes of illness, whether they are related to genetics, environment, or lifestyle.
We utilize a combination of natural strategies and lifestyle support to enhance the body’s innate ability to heal itself. If you are interested in taking a proactive role in your overall health, you can learn more about it in our private Facebook group: McElwee Natural Health and Healing.

This is a fool proof recipe. I have been making this basic recipe for over 5 years and have tried many different substitutes throughout the years as my sons health continued to improve. You really can’t mess it up. If you are dairy free, it works. If you are sugar free, it works. If you are only gluten free, it work. If you are egg free, it works. All you have to do is switch out the “dairy” ingredient for non dairy of your choosing. I have tried almond milk, coconut milk, cashew milk, goat milk, and cow milk. For butter I have tried coconut oil, myikos cashew butter, ghee, lard, tallow, bacon grease. All successful. For sugar if you don’t want to use organic raw cane sugar you can use maple syrup, honey, coconut sugar, agave syrup. All successful. If you can’t have egg then flexegg or egg replacers still work. When possible, I choose organic. I prefer to use cast iron for most of my cooking. When used correctly they are wonderful. If using enough butter, lard, or tallow there should be no sticking and very minimal clean up. It’s a huge learning curve and many give up on them out of frustration. If you keep practicing you’ll get the hang of using them.
Ingredients:
Directions:
*Before cooking new pancakes, rebutter the skillet.* This is a must when cooking with cast iron. Every. Single. Time. Your food should not be sticking to the bottom of the skillet if you are using enough butter, lard, or tallow. I DO NOT recommend using seed/nut oils in cast iron. They make the cast iron get sticky and junky – I try to stay away from nut and seed oils as much as possible. Many store bought brands are rancid which is not healthy for our body. When you read my recipes you will always see me using real butters, locally sources lards and tallows. Rarely will you ever see oils in my recipes. If using stainless steel cook pancakes as you normally would. Gluten free items do take longer to cook so keep that in mind.
These pancakes freeze perfectly. Just take them out as needed, thaw in the fridge, then pop them into a toaster. Add butter, if needed (remember I added lots of butter while cooking when using cast iron) and organic maple syrup. I usually double this recipe and prep them all for the week.

In a recent study it was rediscover that raw milk is one of the best defenses against allergies and asthma. Read the findings below.
STUDY: Raw Milk is One of the “Most Effective Protections Against Allergies and Asthma”

Do you know the ingredients in your store bought yogurts? Are your yogurt ingredients clean? If you are buying clean yogurt from the grocery store you are probably paying around $7 for two small containers.
Did you know you can make yogurt, from scratch, at home with minimal effort? You get to control and limit your ingredients. You know it’s fresh. And you get a little more than half a gallon for the same price you are probably paying for about 5 store bought clean yogurt containers.
I make my own non pectin jam to add flavor.
This recipe is enough for the entire batch of yogurt:
Add lemon juice and fruit to a heavy bottom pot. Simmer on two until juices release. Blend then return to the pot. Add in sugar. Continue to simmer on two until thickened. Let cool until 115° before mixing into your yogurt. Anything above 115° will kill off the good bacteria in the yogurt.
I ended up with 1 starter jar, 10 half pints, and 7 quarter pints of fresh strawberry goat milk yogurt.
Other Jam Ideas: Blueberry, Strawberry, Peach. Cherry, Mixed Berry, Vanilla, Blackberry. Raspberry, etc. I recommend staying away from bananas. Without a stabilizer it will turn brown quickly.
Nutrition Response Testing has played an intricate role in my sons healing journey. He suffered a major vaccine injury which left him extremely vulnerable with major lung and gut damage. It was difficult to find a healthcare practitioner to take us serious and help guide us on his healing journey.
Through Chiropractic care, clean Whole Foods, and Nutrition Response Testing we’ve been able to heal most of his vaccine damage. Nutrition Response Testing has been a huge aid in relieving food allergy symptoms caused from accidental cross contamination as we continue to work on healing his gut health and re-establishing a healthy microbiome.