
Surviving the Holidays Without Losing Your Mind (or Your Immune System)
Welcome to the most wonderful—and occasionally most chaotic—time of the year! At McElwee Natural Hea...

Welcome to the most wonderful—and occasionally most chaotic—time of the year! At McElwee Natural Hea...

At McElwee Natural Health and Healing Center, we’re committed to empowering families with info...

In a groundbreaking announcement on September 22, 2025, President Donald Trump, flanked by Health an...

In a world where modern medicine often treats symptoms with pills and procedures, what if the key to...
At McElwee Natural Health and Healing Center, we’re committed to empowering our community with knowl...
At McElwee Natural Health and Healing, our mission is to empower you to achieve vibrant health by ad...
Ever wonder why you feel bloated, exhausted, or achy after certain meals? These could be your body’s...

Frozen shoulder, medically known as adhesive capsulitis, is a debilitating condition characterized b...
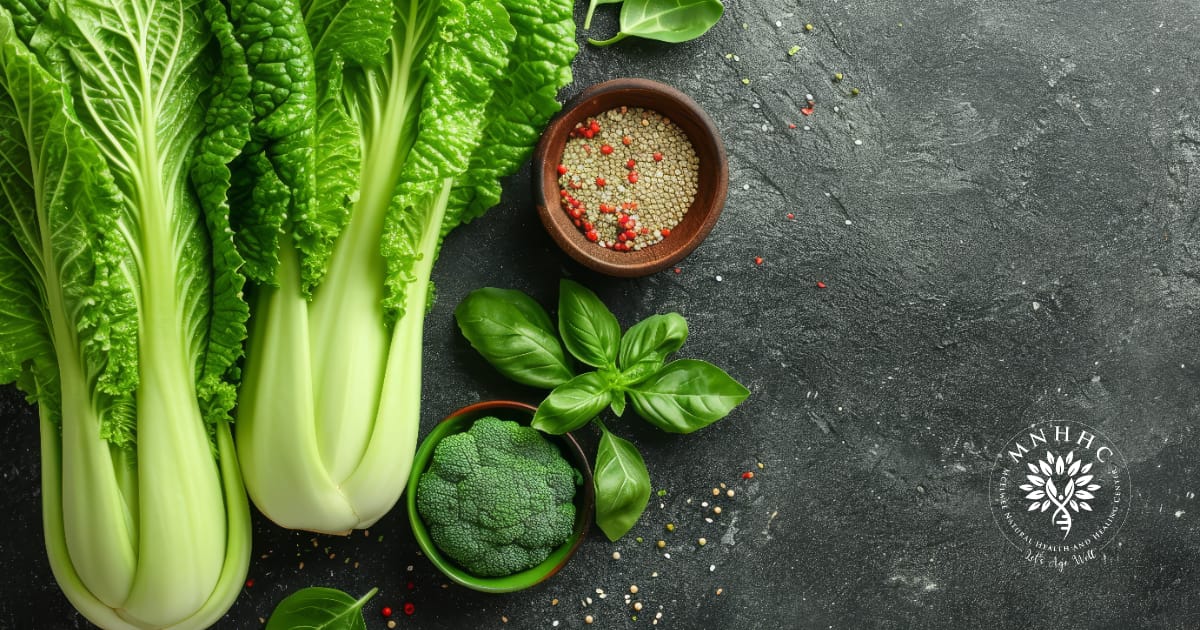
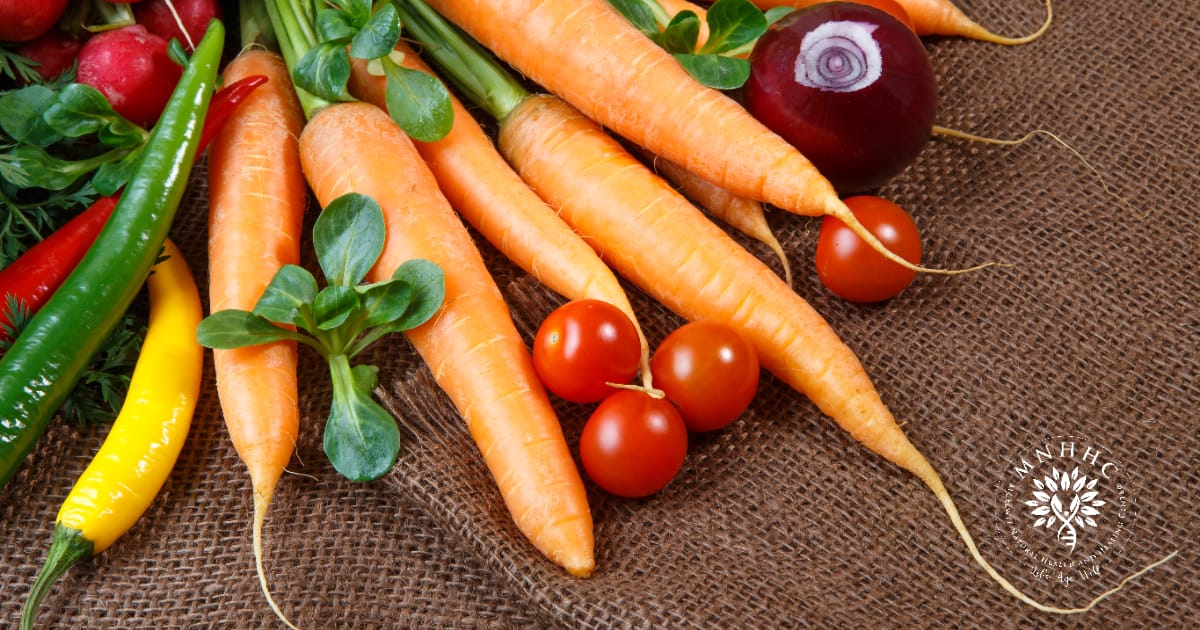
As summer heats up in Maryland, the fields are bursting with vibrant, local produce that can nourish...

At McElwee Natural Health and Healing Center, we believe in empowering you to take charge of your we...

On May 27, 2025, U.S. Health and Human Services Secretary Robert F. Kennedy Jr. unveiled a groundbre...

Seasonal allergies plague many Maryland residents, with Harford County’s high pollen counts making s...
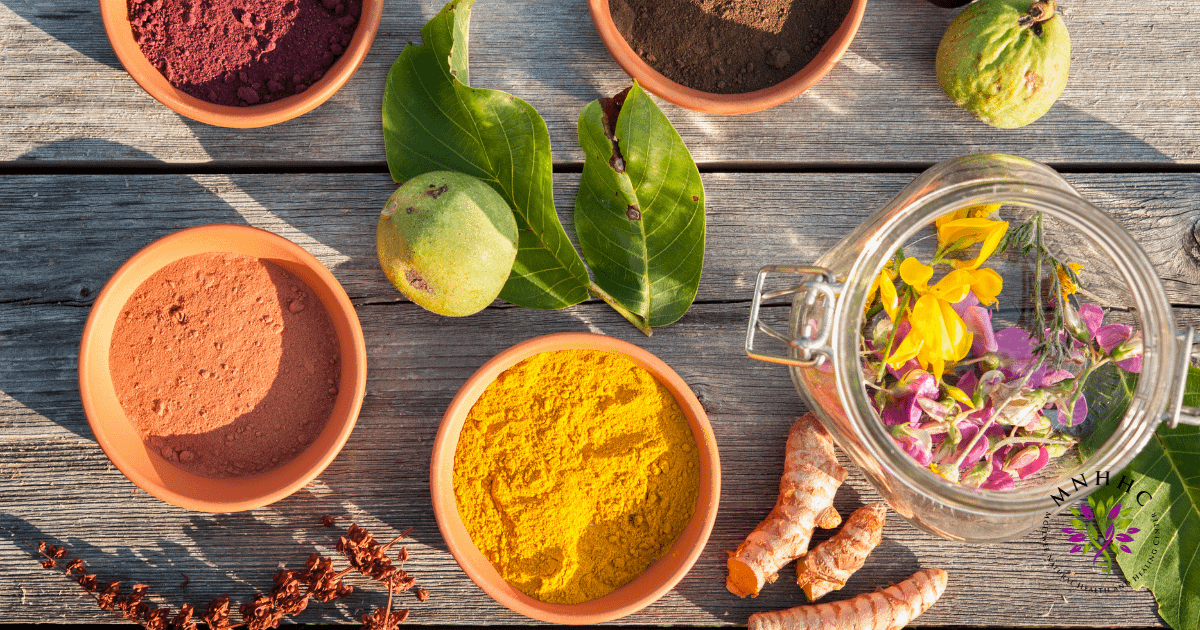
At McElwee Natural Health and Healing Center, we’ve long championed the power of natural, whole food...
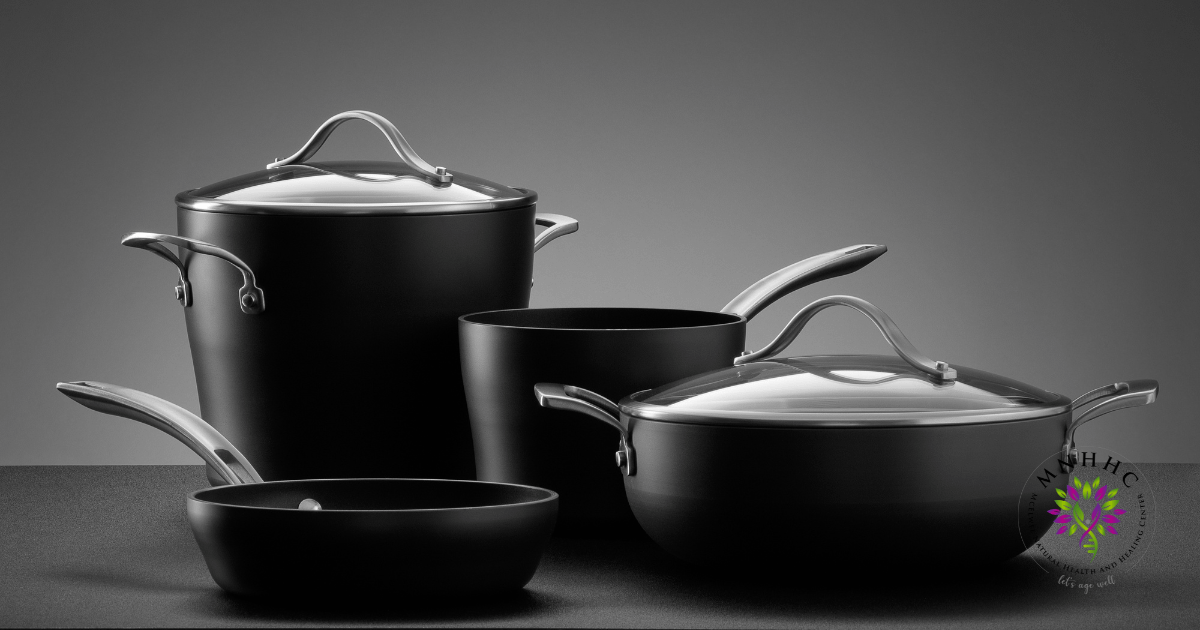
When it comes to cooking, the tools you use are just as important as the ingredients you select. Coo...

This year we have seen a resurgence of measles, a highly contagious viral disease. Before the introd...

If you’re passionate about whole, natural foods and your health, genetically modified organisms (GMO...
We were thrilled to learn of Robert F. Kennedy Jr.’s confirmation as the new Secretary of Health and...

When your child is running a fever, it can be a worrying time for any parent. The decision of whethe...

Red Dye #3, or Erythrosine, is a synthetic red coloring used in various food and cosmetic products....

The “Make America Healthy Again” (MAHA) movement emerges at a crucial time when the Unit...
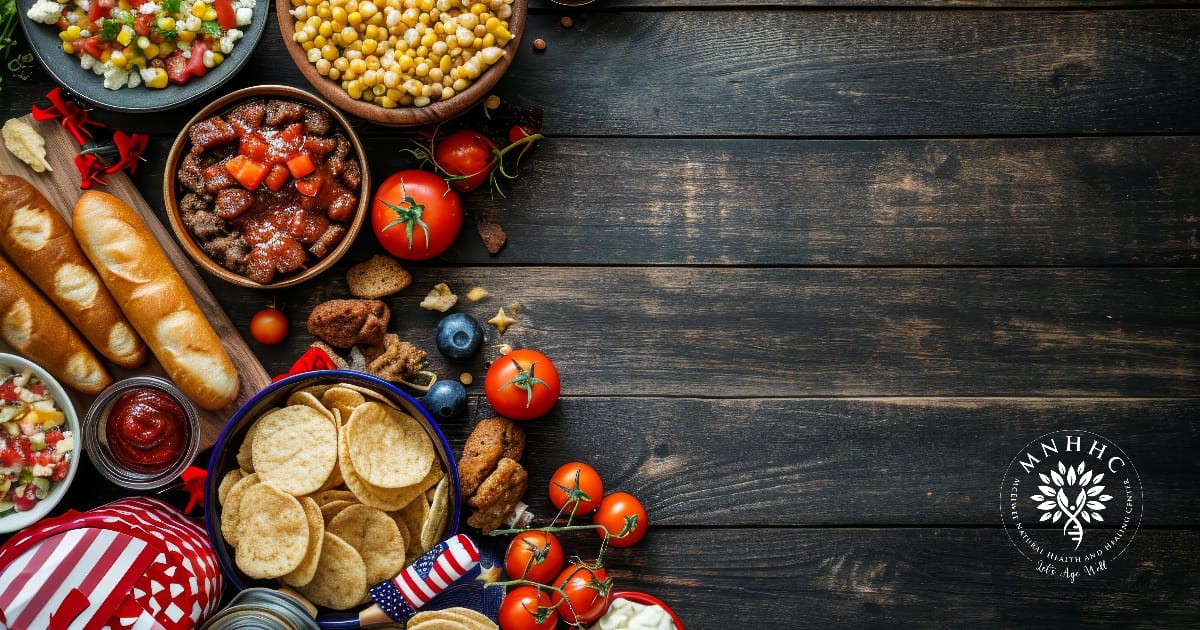
The holidays are a time of coming together to get caught up in the lives of loved ones, share fond m...
The thyroid gland, a small but crucial butterfly-shaped organ in the neck, regulates a myriad of bod...
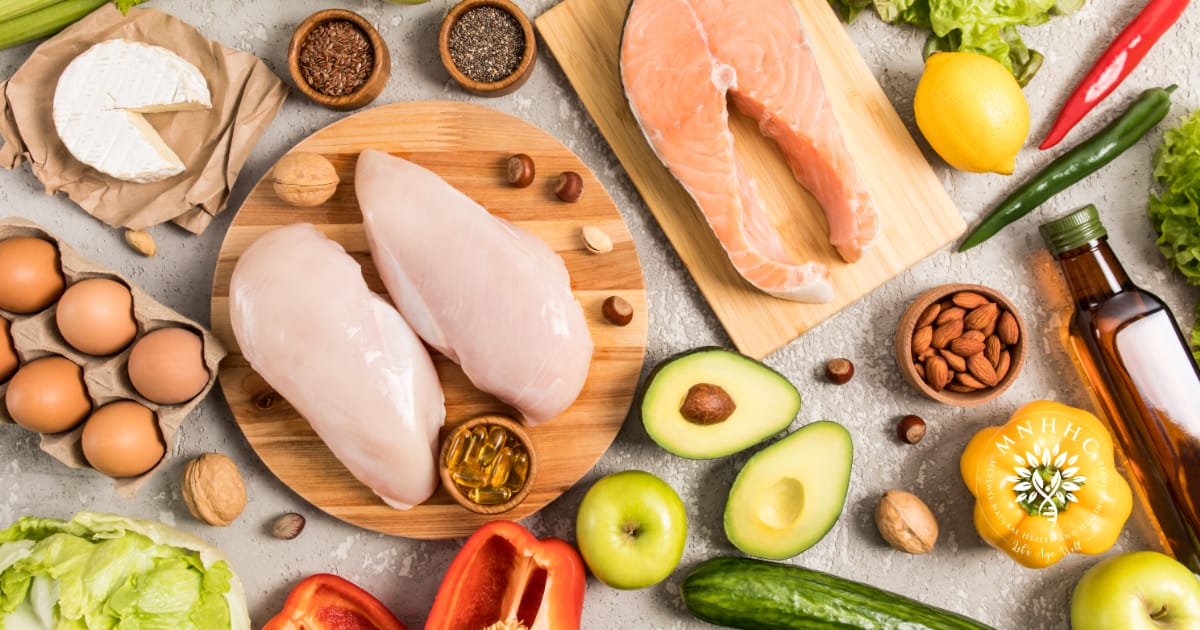
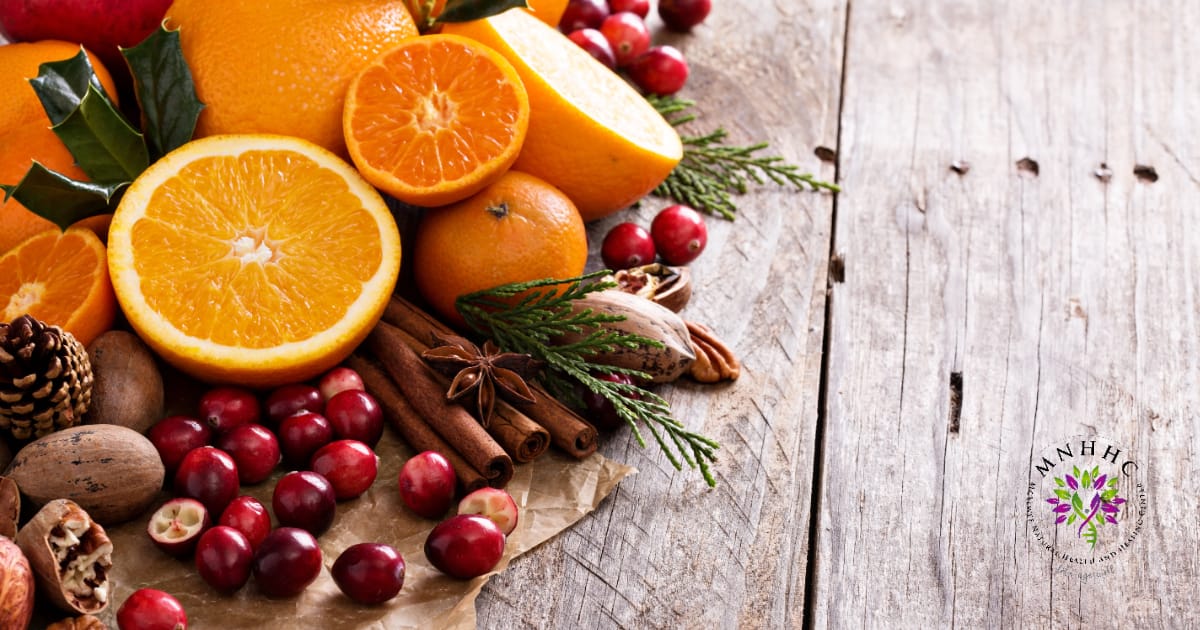
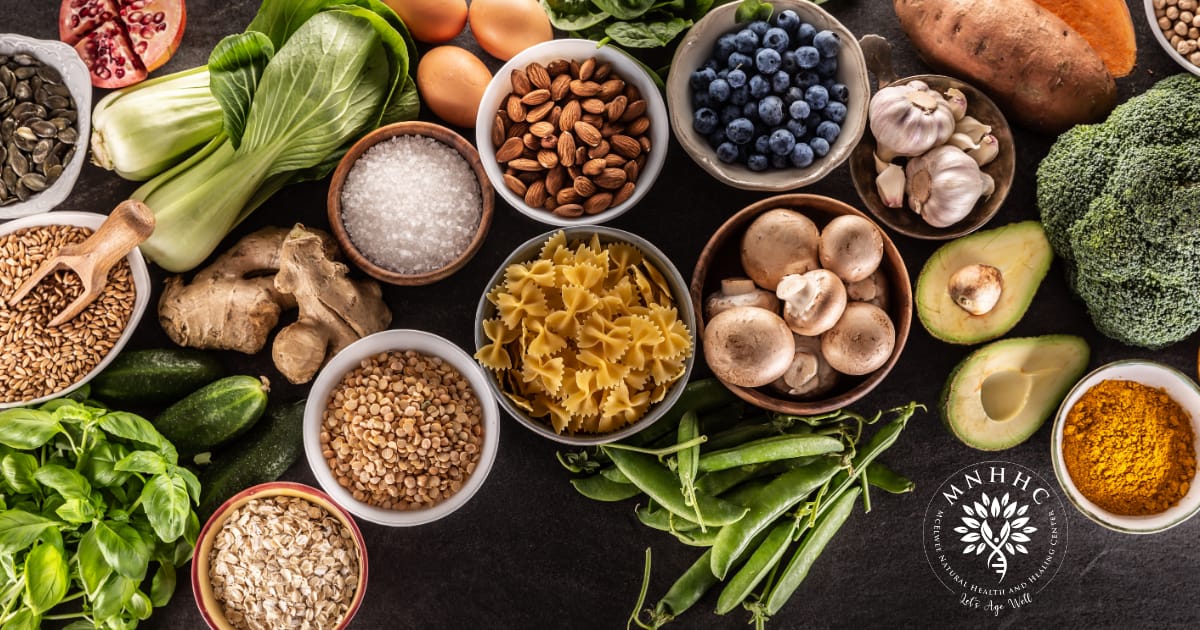
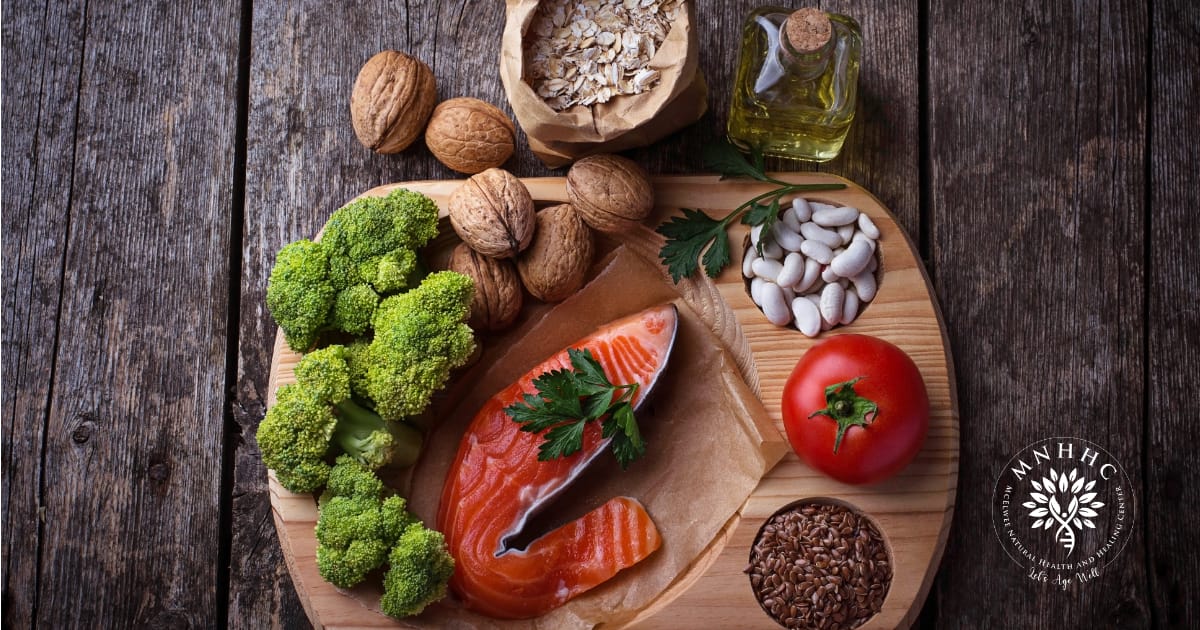
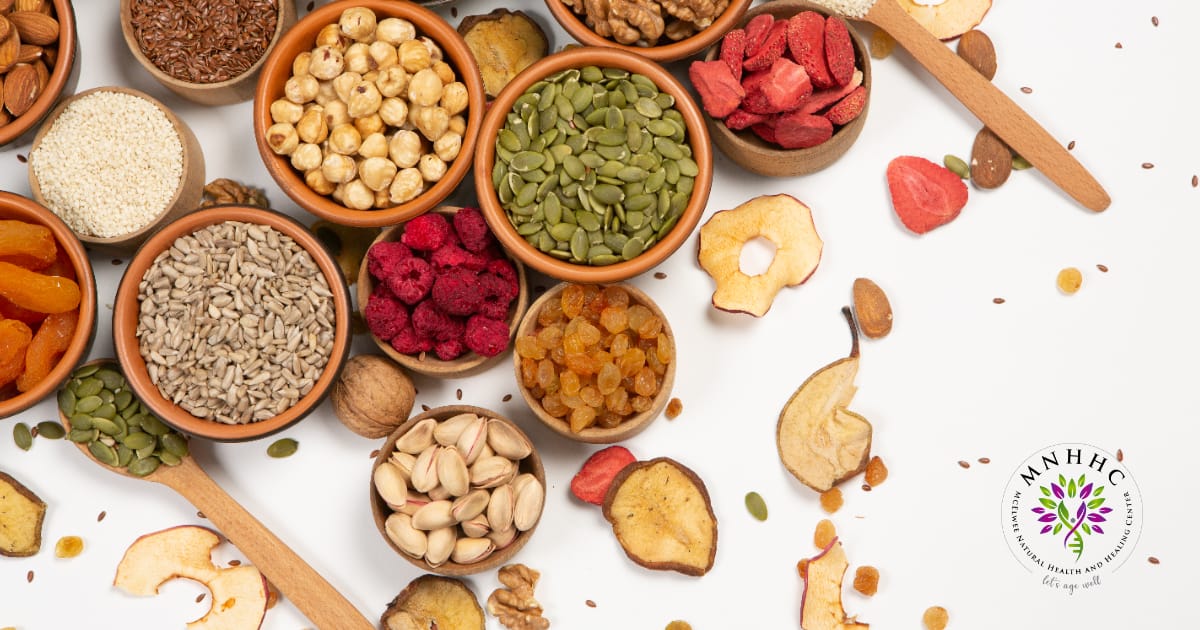
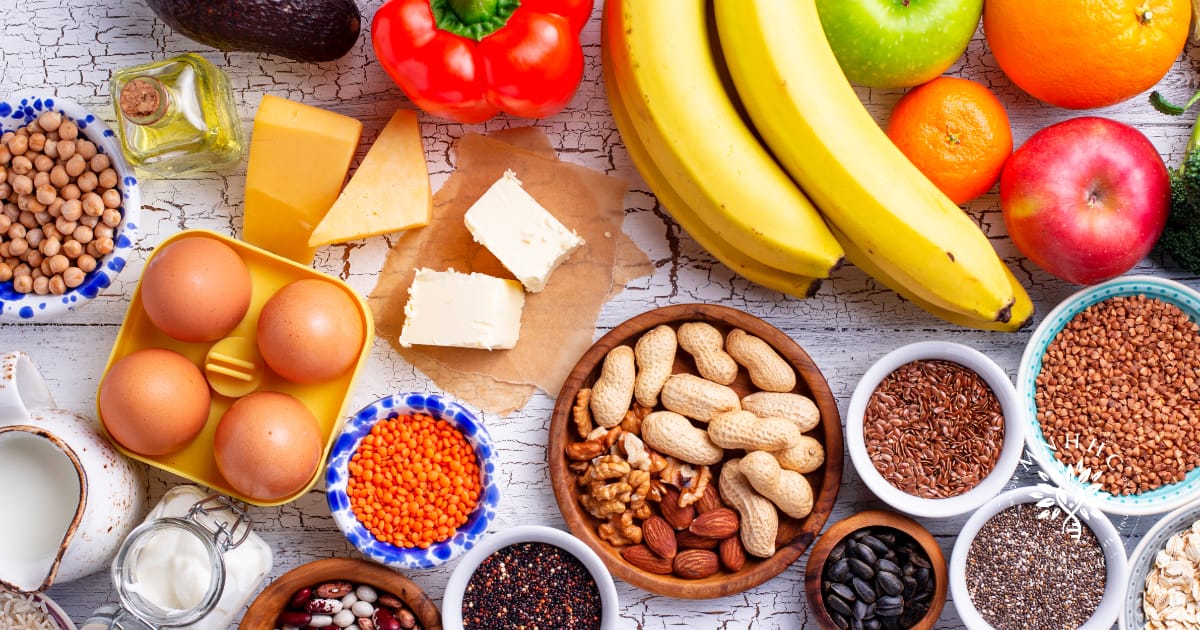
Maintaining good health relies on essential vitamins and minerals like vitamin C, calcium, and iron....
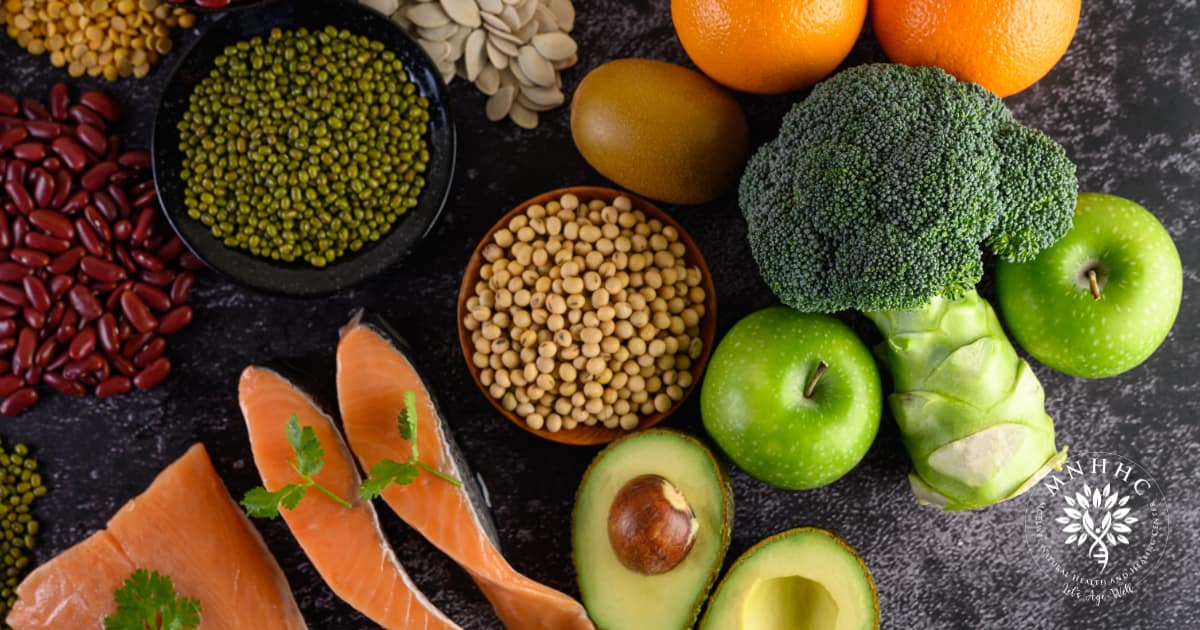
When we think about the essential nutrients contributing to our overall health, our minds often grav...
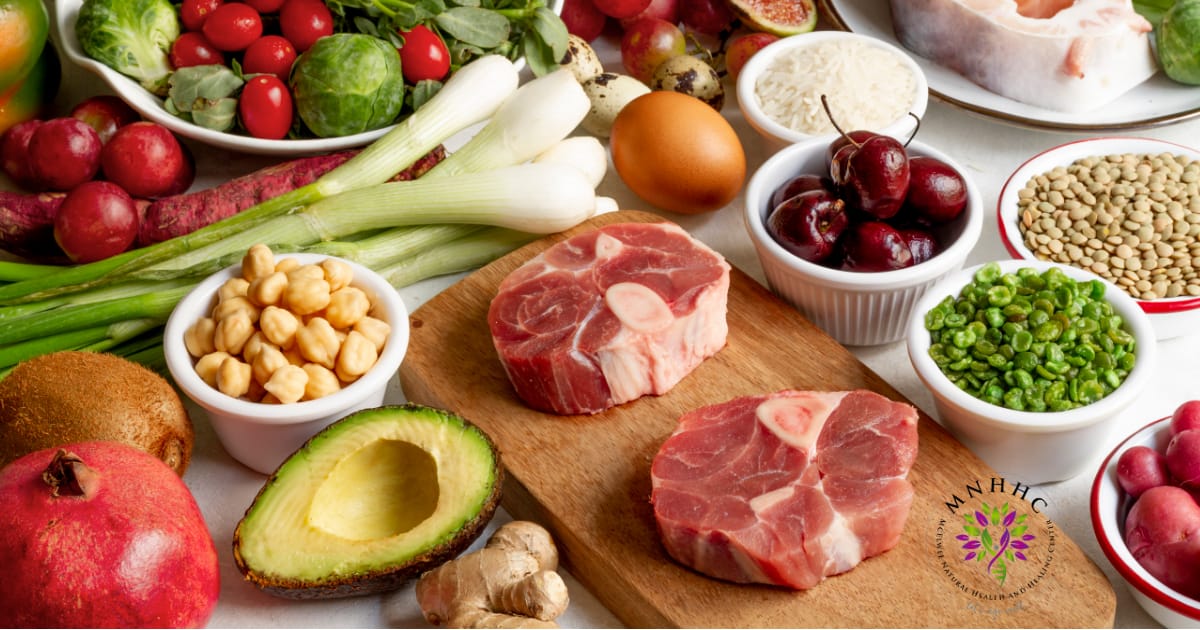
When we think about essential nutrients for our bodies, we often focus on vitamins and minerals like...
When it comes to essential minerals for our health, manganese often takes a backseat to more popular...
Zinc is a mineral that is crucial in maintaining overall health and well-being. While often overlook...

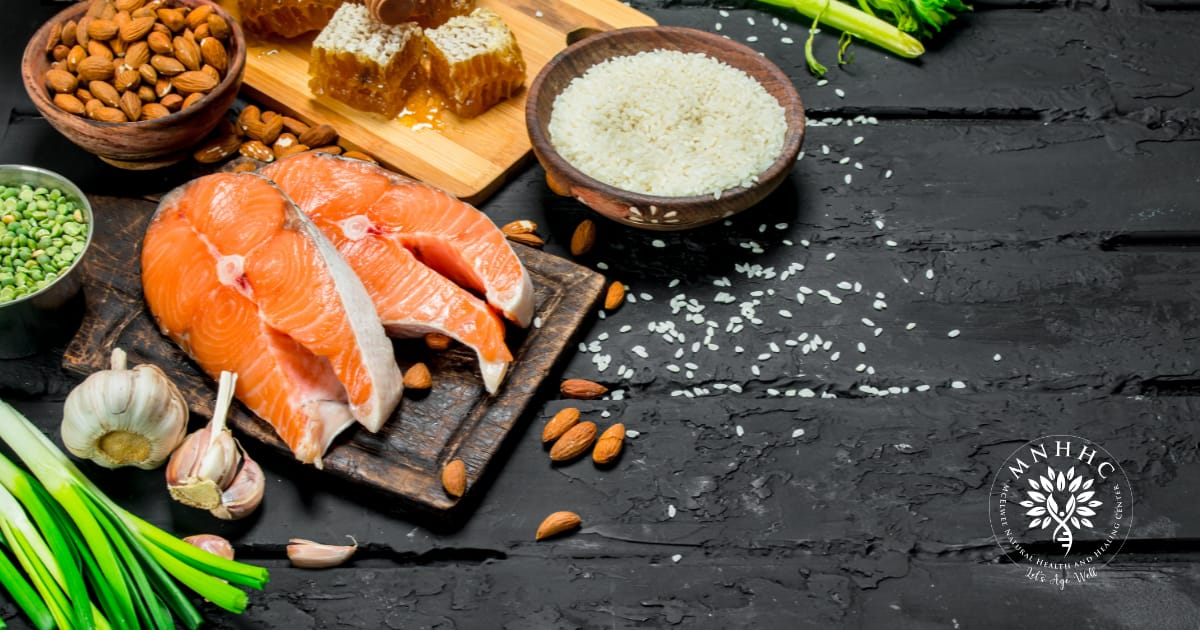
Many people overlook the importance of iodine in their diet when it comes to maintaining optimal hea...
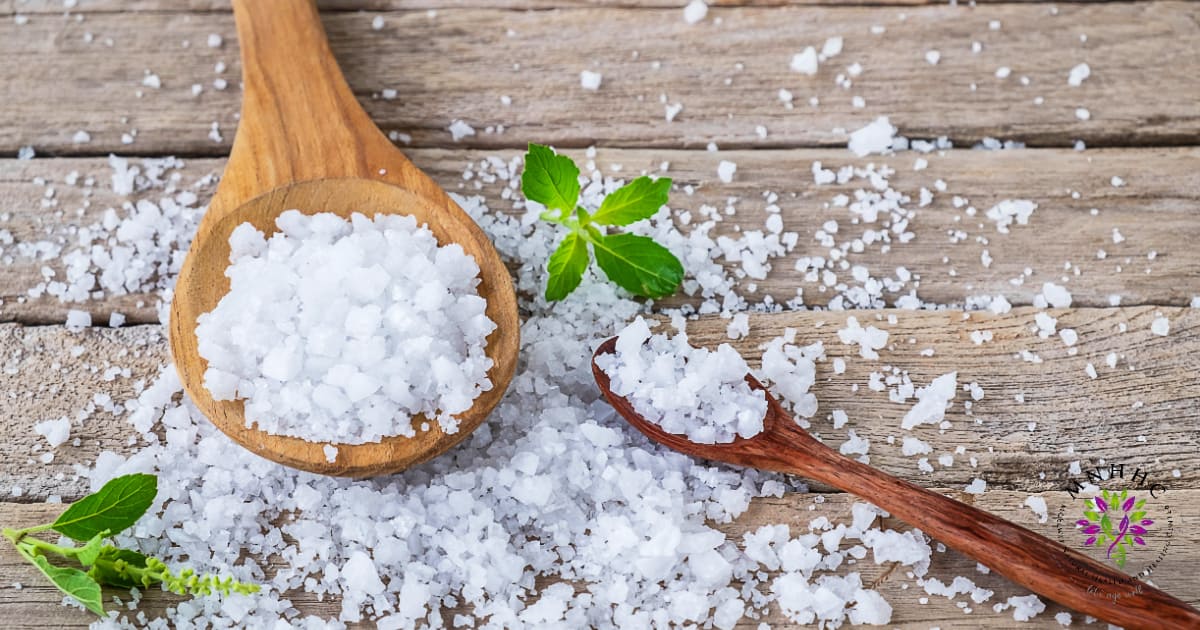
Understanding the role of sodium in our bodies is crucial to maintaining optimal health. Sodium play...
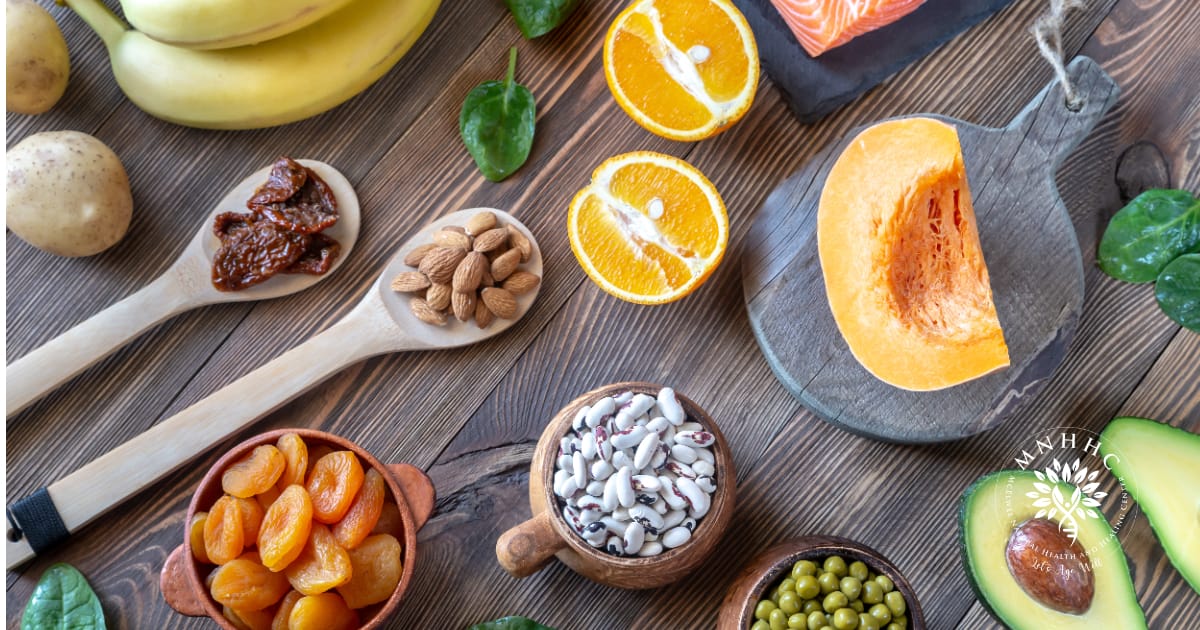
When we think about essential nutrients for our body, we often hear about the importance of vitamins...
From energy production to cell growth, phosphorus is a vital mineral that is crucial for various fun...

Calcium is an essential mineral that plays a vital role in various body functions. From strong bones...
When it comes to maintaining good health, most people are familiar with the importance of vitamins l...
Many of us are familiar with the many essential vitamins in our diet. Still, one that often gets ove...

Have you ever noticed how a sunny day can instantly boost your mood? Well, that’s not just a c...
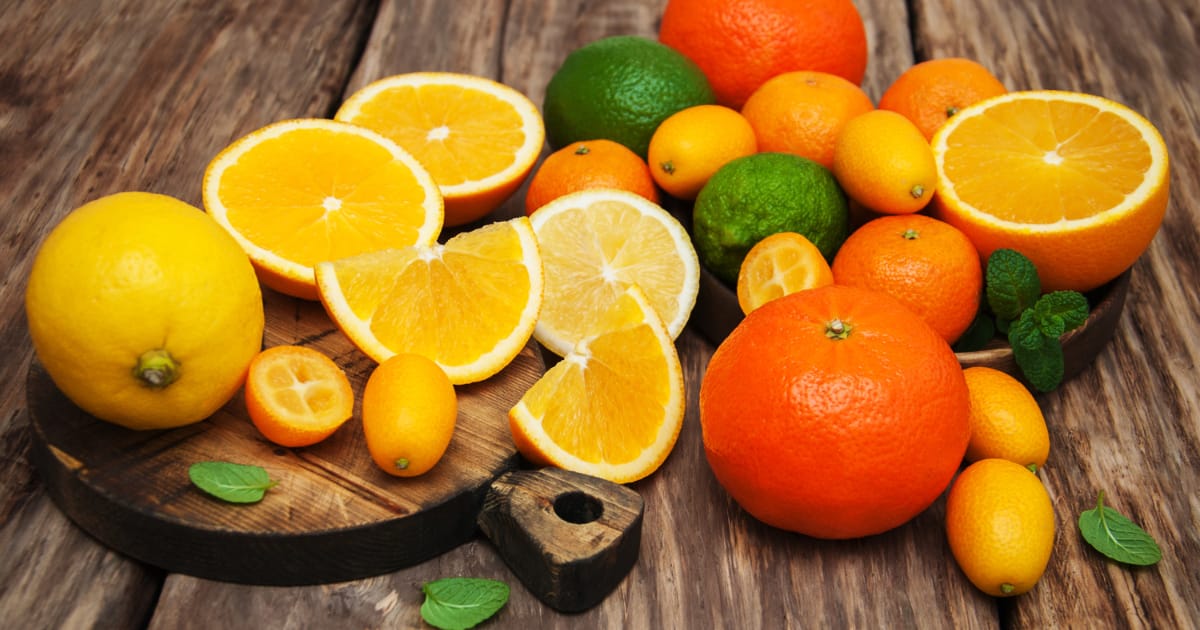
Vitamin C stands out as the go to vitamin for maintaining optimal healt. This essential vitamin, als...
B vitamins play a crucial role in maintaining optimal health. These essential nutrients are water-so...
Vitamin A is an essential vitamin that is vital for various bodily functions. We often hear about th...
In today’s health-conscious world, many people are becoming more aware of the impact of their...

Imagine biting into a juicy, ripe tomato only to find that it lacks vibrant flavor and essential nut...

When you pick up a packaged food item from the grocery store shelf, chances are you’ll see the term...
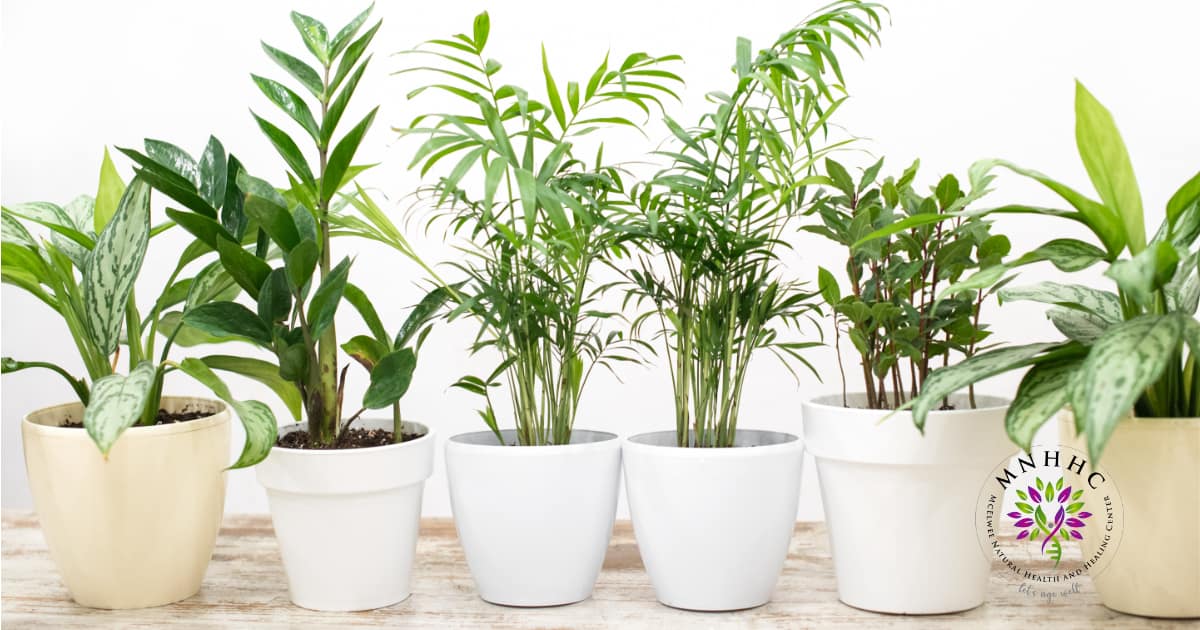
Houseplants are not only a beautiful addition to your home decor, but they also offer numerous healt...

Feeling tired all the time is a common complaint among many people today. It can be a frustrating an...

Our bodies are constantly bombarded with toxins from the environment, food, and even the products we...

As our Dads age, it becomes increasingly important to prioritize their health and well-being. From e...

As a holistic health practice, McElwee Natural Health and Healing is dedicated to enhancing overall...

Electromagnetic fields (EMFs) are invisible lines of force that surround electronic devices and powe...

Are you seeking a natural method to enhance your overall wellness? Discover the PEMF mat at McElwee...

At McElwee Natural Health and Healing, we believe proper health is about more than just the absence...

Imagine stepping outside your home on a bright morning, the birds chirping, the sun shining, and the...

Ingredients:
Instructions:

Ingredients:
Glaze:
Instructions:
*Air fryer – cook at 360 degrees for 30 minutes breast side down. Then flip and cook another 20 minutes until internal temps reach 165 degrees and the juice is clear.

Birria is an iconic Mexican dish. This recipe is typically made with goat, lamb, or beef meat. We personally prefer it with goat meat but beef meat in this recipe is great too! We have yet to try it with lamb. This is a wonderful whole food dinner dish. You can eat it as a stew, on tacos, or even served with sides. We love to eat it with beans and tortillas.
Ingredients:
Instructions:
We like to serve this in chunks with beans and tortillas on the side. We also shred the meat and put it on tacos. Many people serve this dish over rice. This dish would still be delicious if you serve it with potatoes and veggies on the side. And some people eat this dish like a meat stew. So many options and all are delicious!

Chronic Sinusitis occurs when the space inside your nose and head are inflamed for an extended period of time.
Symptoms may include stuffy nose, sore throat, head pressure, loss of smell or taste, eyes may be tender or puffy, headache, difficulty with the way mucus drains, etc.
Chronic Sinusitis Facts
Learn more from the CDC.
What is up with these statistics? Crazy, right?! Are you one of the million(s) living with Chronic Sinusitis?
Here at McElwee Natural Health and Healing we believe there are many contributing factors that may be playing a part for different people. Some of these stressors may include but are not limited to: food allergies, heavy metals, chemicals, fungal, bacterial, viral, and parasitic. We believe we can help our members identify the stressor that is causing inflammation in the sinuses and come up with a personalized nutritional protocol to help their body achieve relief. Give us a call or send us an email to schedule an appointment.

Gluten Free Pizza Crust
Ingredients:
Instructions:

Yum Yum and Yum again. This is a very simple, easy, gluten free pie crust that is delicious! I mainly use this recipe for a savory mouth watering from scratch chicken pot pie. But I’ve also used this recipe for actual pie crust.
Ingredients:
Instructions:
***If using for Chicken Pot Pie***
I make multiple individual chicken pot pies. In my case I double the recipe for 8 individual dishes. I evenly separate the pie dough into 8 equal parts. I roll it out. Then place it on top my fully cooked filled chicken pot pie dishes. I pinch the crust around the edges. I cut 3 x marks in each raw pie dough after I put it on the chicken pot pie dish. I brush the dough with egg whites mixed with bacon grease or egg whites mixed with lard/butter [if vegan, brush lightly with coconut oil or alike]. Then I bake until the crust is golden. I do precook everything in the chicken pot pie before I top with the raw pie crust and bake to finish it.